Cooking
It has been hot. Brutally hot. The thought of standing over a hot stove or further heating the apartment with the oven is unbearable. In these dog days of summer, cool meals are critical. Enter cold cucumber soup. You don’t have to heat a thing and the stuff actually makes you feel cooler.
This recipe hails from The America’s Test Kitchen.
——————————————————–
Ingredients:
- 4 cucumbers (about 2 1/2 pounds), peeled, halved, and seeded–to seed run a small spoon inside each cucumber half to scooop out the seeds and surrounding liquid.
- 1 cup sour cream
- 1 tablespoon minced fresh dill
- 1 1/2 teaspoons sugar
- 1 teaspoon Dijon mustard
- 1 garlic clove, minced
- 3 cups buttermilk
Directions:
Cut one of the cucumber into 1/4 inch cubes and reserve. Â Process the remaining three cucumbers, sour cream, dill, sugar, mustard, and garlic in a blender or food processor until smooth. Â Transfer to a large bowl or container. Â Stir in buttermilk and reserved cubed cucumber. Â Season with salt and pepper. Â Cover and refrigerate until well chilled, about 30 minutes (or up to 6 hours). Â Season again with salt and pepper to taste before serving.
Last Sunday, Rick and I were finally able to get in a cook. It’s been a minute since the two of us have co-piloted on a cooking project.  Something about 7,800 miles of the Pacific ocean and these United States of America between Taipei and New York. The cooking was a classic affair with an old friend, complete with a series of minor mishaps requiring creative solutions but resulting in a tasty meal.
We decided on a Mexican theme. Â After perusing a few cookbooks, we settled on arroz con pollo and zucchini and corn with cream. Â Rick took the lead on chicken dish as I worked on the side. Brothers in arms in the kitchen. Just like old times; if only a few others from Minnesota were able to stop by.
The tribulations started with the ingredients and continued until the meal was on our plates. My roommate Nick kindly agreed to add our groceries to his stop on the way home from a Sunday in the office. Unfortunately the store was out of cilantro.  My dish called for a lot of cilantro: one cup, chopped.  The watercress the grocery employee of the month pushed on Nick wasn’t going to cut it.  I would have to do without.  My next surprise came in green flecks growing on the top of my Mexican crema.  I was forced to sub in some yogurt.  The result was a more liquidy dish than might be desired.
Rick’s arroz con pollo started out well.  But 10 minutes after the listed cooking time, the rice was still hard, the chicken still under cooked, and much liquid was unabsorbed.  Another 10 minutes did little to improve the situation.  (I rarely use the cookbook the recipe came from because I don’t trust it.) But this was Rick’s time to shine.  He proved once again that he is a god damn MacGyver in the kitchen.  After brain storming, we pulled out the chicken, shredded it, and pan cooked it as Rick cooked the rice like a risotto.  Another five minutes and boom.  Dinner was served.
The result may not have been what we had in mind when we set out. Â But it was adventure to get to the end and a satiating end it was.
‘Tis the season. Â Summer. Â Where the table life of bananas drops to days. Â I can’t think of a better way use those aging bananas than banana bread. Â The recipe below comes from America’s Test Kitchen and yields a tasty moist loaf.
————————————————–
Ingredients:
- 2 cups all-purpose flour
- 3/4 cup sugar
- 3/4 teaspoon baking soda
- 1/2 teaspoon salt
- 3 very ripe bananas, mashed well
- 6 tablespoons unsalted butter, melted and cooled
- 2 large eggs, lightly beaten
- 1/4 cup plain yogurt
- 1 teaspoon vanilla extract
Directions:
- Adjust the oven rack to the lower-middle position and heat the oven to 350 degrees. Â Generously coat an 8 1/2 by 4 1/2-inch loaf pan with vegetable oil spray.
- Whisk the flour, sugar, baking soda, and salt together in a large bowl. Â Whisk the mashed bananas, melted butter, eggs, yogurt, and vanilla together in a separate bowl. Â Gently fold the banana mixture into the flour mixture with a rubber spatula until just combined. Â Don’t over mix; the batter will look thick and chunky.
- Scrape the batter into the prepared pan and smooth the top. Â Bake until golden brown and a toothpick inserted into the center comes out with just a few crumbs attached, about 55 minutes.
- Let the loaf cool in the pan for 10 minutes before unmolding onto a wire rack to cool for 1 hour.
There is an option where you can add nuts (1/2 cup walnuts, toasted and chopped), if you’re into that kind of thing. Â As a person of moral character, I am not.
This tuna pasta salad is one of my summer staples. Â It’s great with some grilling. Â Prefect to have in the fridge for a quick no cook meal on a hot day. Â Prefect for a midnight snack, if you’re my roomate Nick and your girlfriend recently started sleeping over. I wish I could say that I learned how to make this dish during my days in Minnesota (it has the word salad in the name and mayo as a significant ingredient), but this came to me from an East Coaster.
The below is a rough sketch for the salad. Â Use whatever portions of ingredients suit your taste.
Ingredients:
- Small red onion, minced
- 3-4 stocks of celery, chopped
- 3 5 oz. cans of tuna, drained
- 1 pound bow tie pasta, cooked
- 1 1/2 cups of mayonnaise
Directions:
Mix it all together in a bowl. Â Chill in the fridge. Â And enjoy. Â (I like mine with a little Louisiana style hot sauce.)
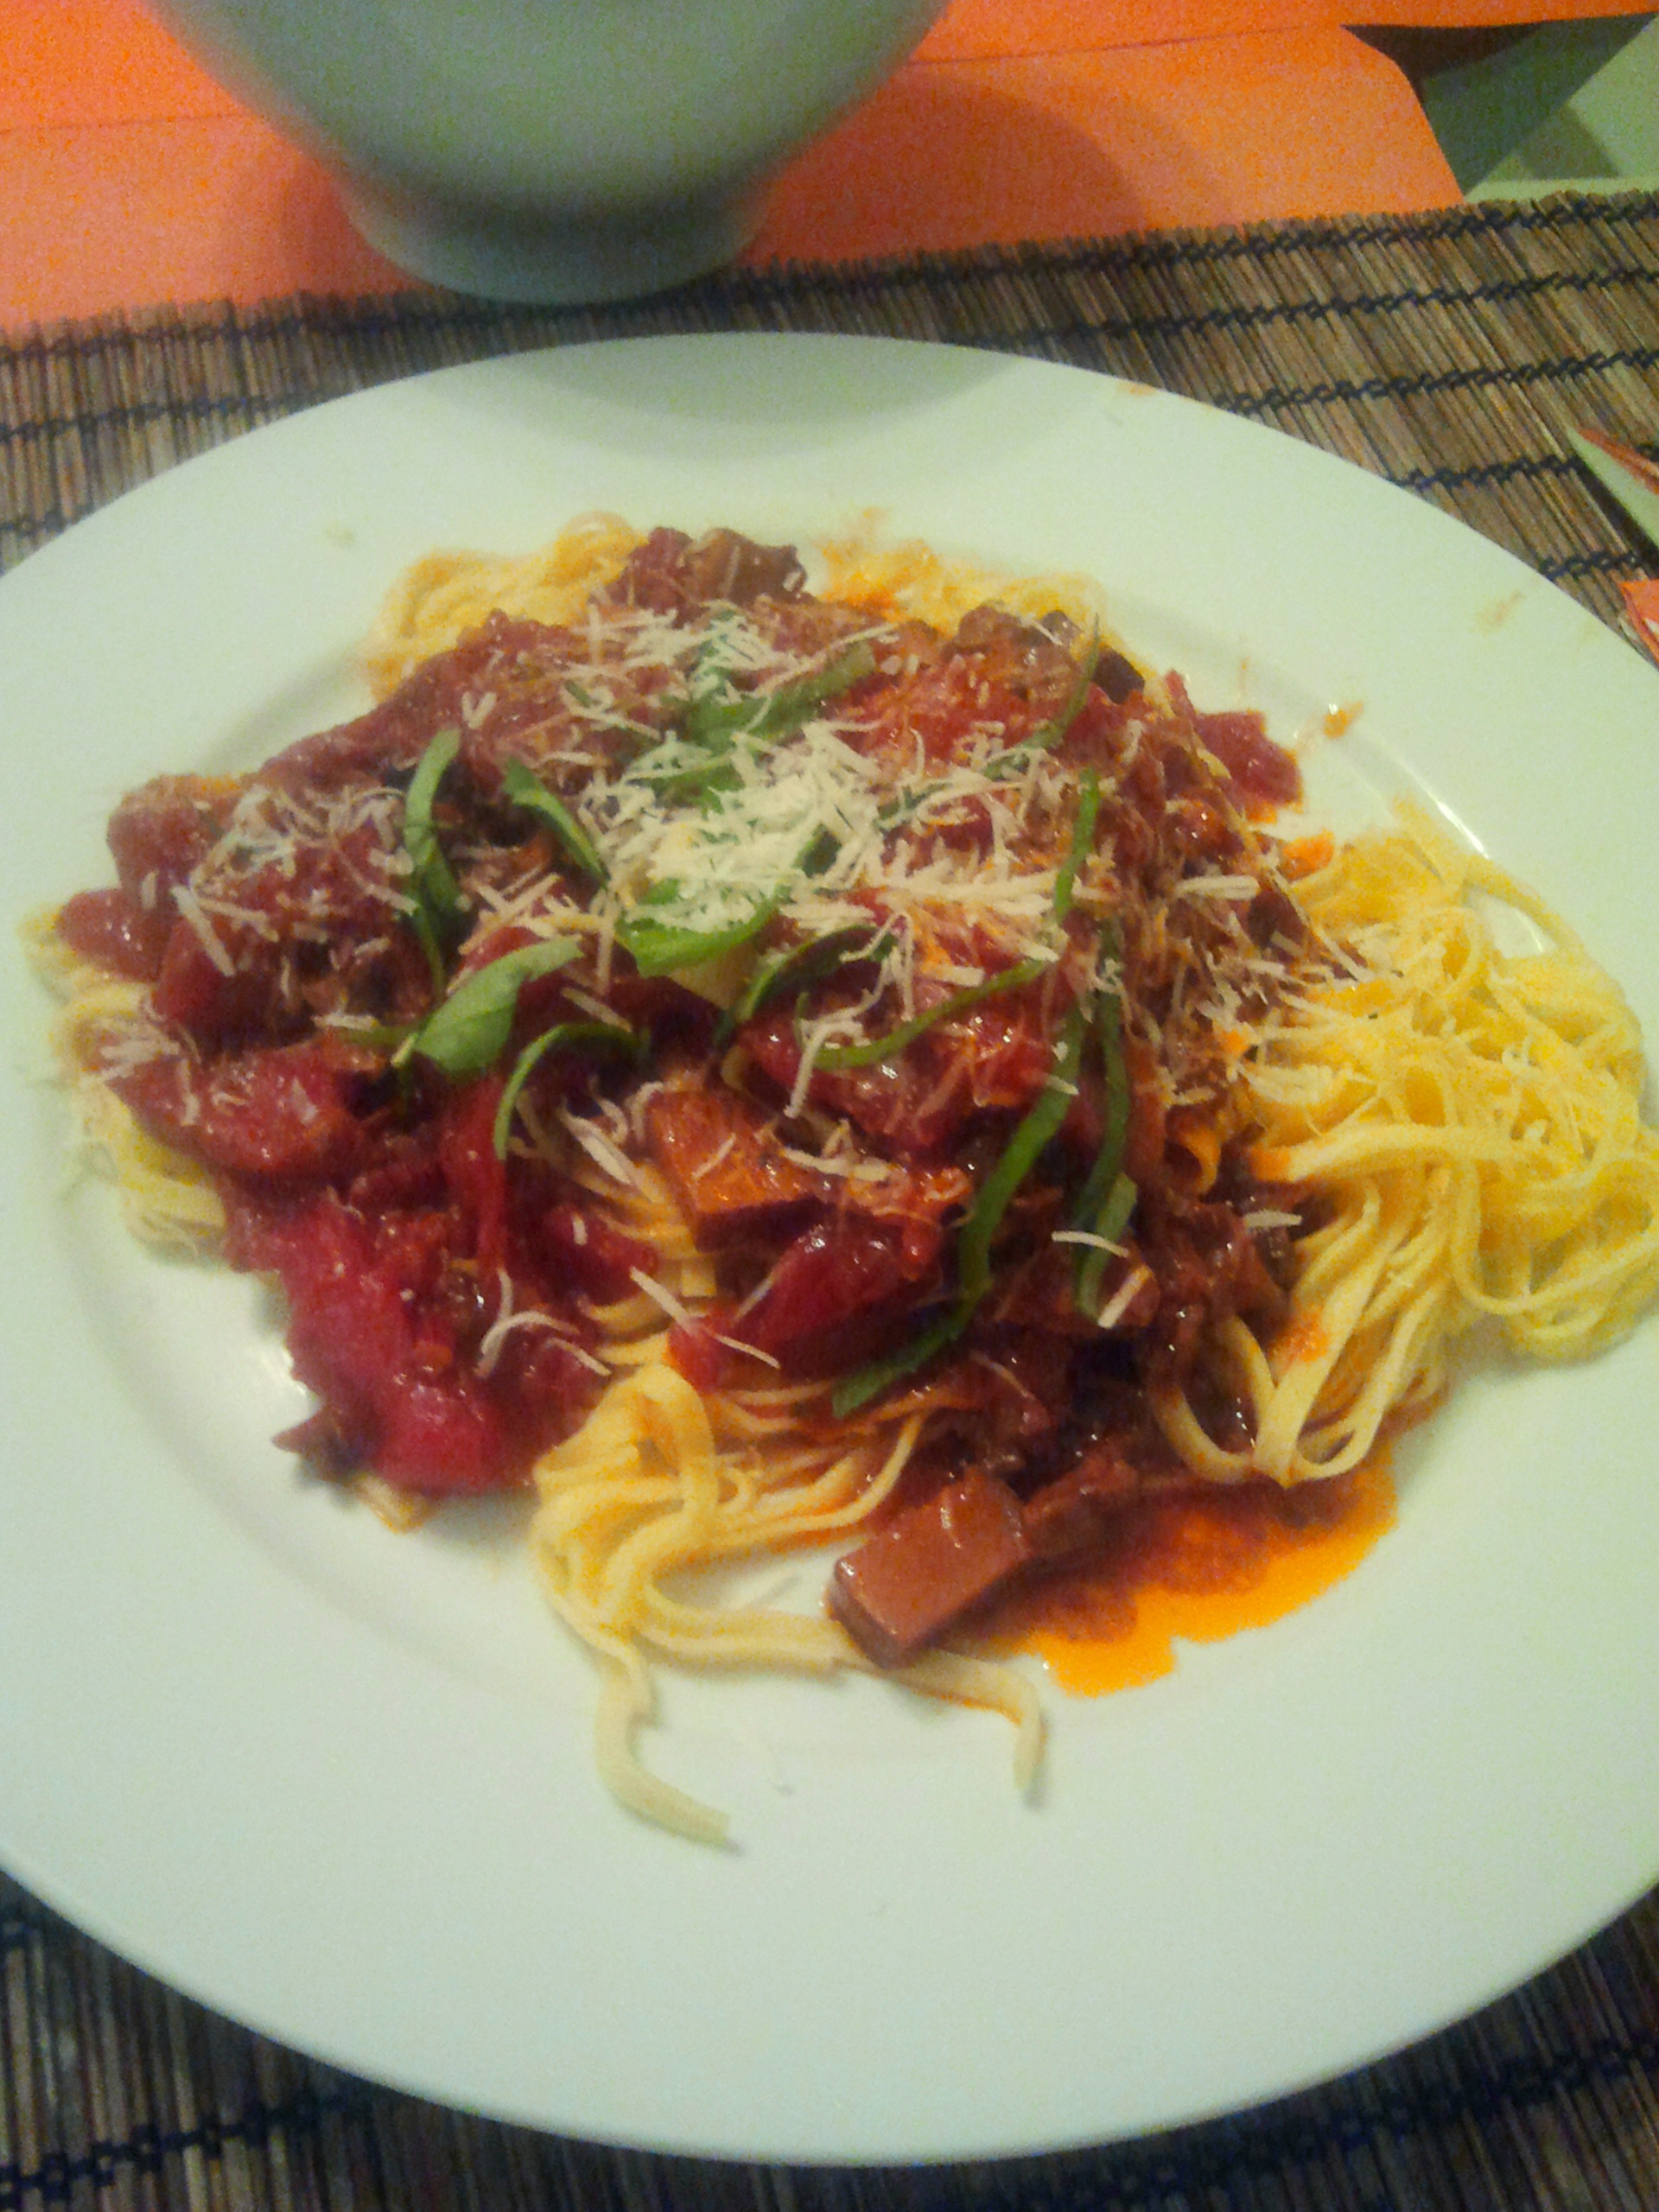
My favorite food group, bar none, is meat. I know that’s a distinctly American and distinctly unhealthy predilection, and it’s something I’m focusing on trying to change as I lose weight (down 25 pounds!). But there is something so satisfying about the look, smell and feel of meat which is so hard to duplicate. Even as I try to add more vegetarian recipes to my repertoire, I do my find myself noticing the lack of meat in those dishes. One way I’ve found to try to replace that is by using mushrooms. Mushrooms have a somewhat similar, earthy flavor, and portobellos specifically also have a very meaty, toothsome texture.
This recipe, from America’s Test Kitchen, makes a fantastic pasta sauce using very little meat, and in a very short amount of time for a ragu. The time you spend caramelizing the tomato paste helps develop very deep and complex flavors without having to spend hours simmering away.
1 oz dried porcini mushrooms
1 cup of chicken broth or stock
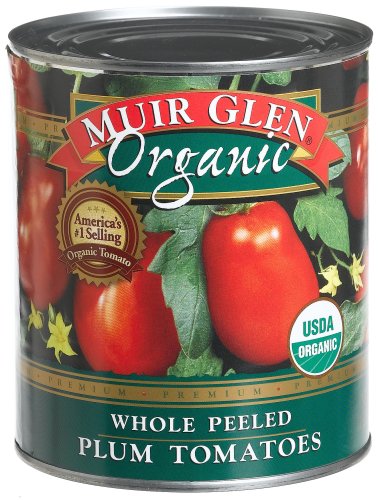
Muir Glen Organic consistently wins the canned tomato taste tests at America’s Test Kitchen, so I stick with that brand.
4 oz pancetta, cut into 1/2 inch dice
2 portobello caps, gills and stem removed, cut into 1/2 inch dice
3 tbsp extra virgin olive oil
4 garlic cloves, sliced
1 tbsp tomato paste
2 tsp minced fresh rosemary
1 2lb can of whole peeled tomatoes
Splash of red wine (optional)
First, add your dried porcinis to a bowl, and add the chicken broth. Cover with plastic wrap, poke a few holes to vent, then microwave on high for 1 minute and allow it to steep in the broth for 10 minutes. Remove the mushrooms with a slotted spoon, then run the broth through a sieve and coffee filter, set over a bowl to reserve the liquid. Chop the porcinis, and set aside.
Use a spoon to scrape the gills out of 2 large portobello caps, then cut into 1/2 inch dice and set aside.
Pre heat a large skillet over medium heat, then add the diced pancetta. Allow the fat to render and the meat to brown for about 10 minutes, stirring occasionally. Add the mushrooms , olive oil, garlic, tomato paste and rosemary and stir to combine. This should be cooked over medium heat for 7 minute or so until the tomato paste begins to caramelize and brown.
Now add the can of tomatoes which you have crushed by hand, along with either the juice of left in the can, or a splash of red wine, as well as the chicken broth which you rehydrated the mushrooms with. Bring the sauce to a simmer and reduce heat to medium low, then allow to thicken for 20 minutes or so. Salt and pepper to taste. You may also need to skim off some fat from the top of the sauce depending on how much rendered out of the pancetta.
Reserve a few tablespoons of the pasta water to thin the sauce to the consistency you desire before serving.
You can garnish your plate with some basil chiffonades and grated Pecorino Romano or Parmigianino if you like. But with or without, you will love this and make it again.
 Every once and a while, I take a mouthful of something I’ve cooked and think “damn, I can’t believe I made this.”  The food tastes better than I would expect from myself. Hell, it tastes better than I expect from a restaurant. This happened to me a few weeks back when I took my first bite of my first homemade tomato soup.
When it comes to tomato soup, I’m used to the canned variety—usually Campbell’s or, if I’m feeling fancy, Progresso. It’s been my lunch time meal at Heal and Hearty more times than I can count. But the creamy tomato soup from the America’s Test Kitchen cookbook, fresh off the stove, blows these away. The flavor is slightly sweet, savory, and full of umami.  A little fresh baked bread was the near perfect pairing (though some grilled cheese might be necessary).
The recipe advises the soup should take 50 minutes.  It was my first go at the recipe, I was baking bread, and distracted by the apartment’s new canine addition, so it took me a bit longer.  America’s Test Kitchen recommends that you can take the soup most of the way to completion (through step two), refrigerate or freeze, and complete with the cream when ready to serve.
Ingredients:
- 4 tablespoons (1/2 stick) unsalted butter
- 2 (28-ounce) cans diced tomatoes drained, 3 cups juice reserved
- 1 onion, chopped fine
- 2 tablespoons light brown sugar
- 1 tablesp0on tomato paste
- 2 tablesspoons all-purpose flour
- 1 3/4 cups low sodium chicken broth
- 1/2 cup heavey cream
Directions:
- Melt the butter in a large Dutch oven over medium-high heat. Add the drained tomatoes, onion, brown sugar, and tomato paste. Cook, stirring occasionally, until the onion is softened and the tomatoes begin to caramelize, about 15 minutes.
- Stir in the flour and cook for 1 minute. Slowly stir in the broth and the reserve tomato juice, scraping up any brown bits. Bring to a simmer, cover, and cook for 10 minutes. Puree the soup in a bleeder or food processor until smooth. (You can also use an immersion blender, which doesn’t make for as smooth of a puree, which I actually prefer here.)
- Return the pureed soup to the pot (if you didn’t use an immersion blender) and stir in the cream. Bring to a brief simmer, then remove from heat. Season with salt, pepper, and cayenne to taste before serving.
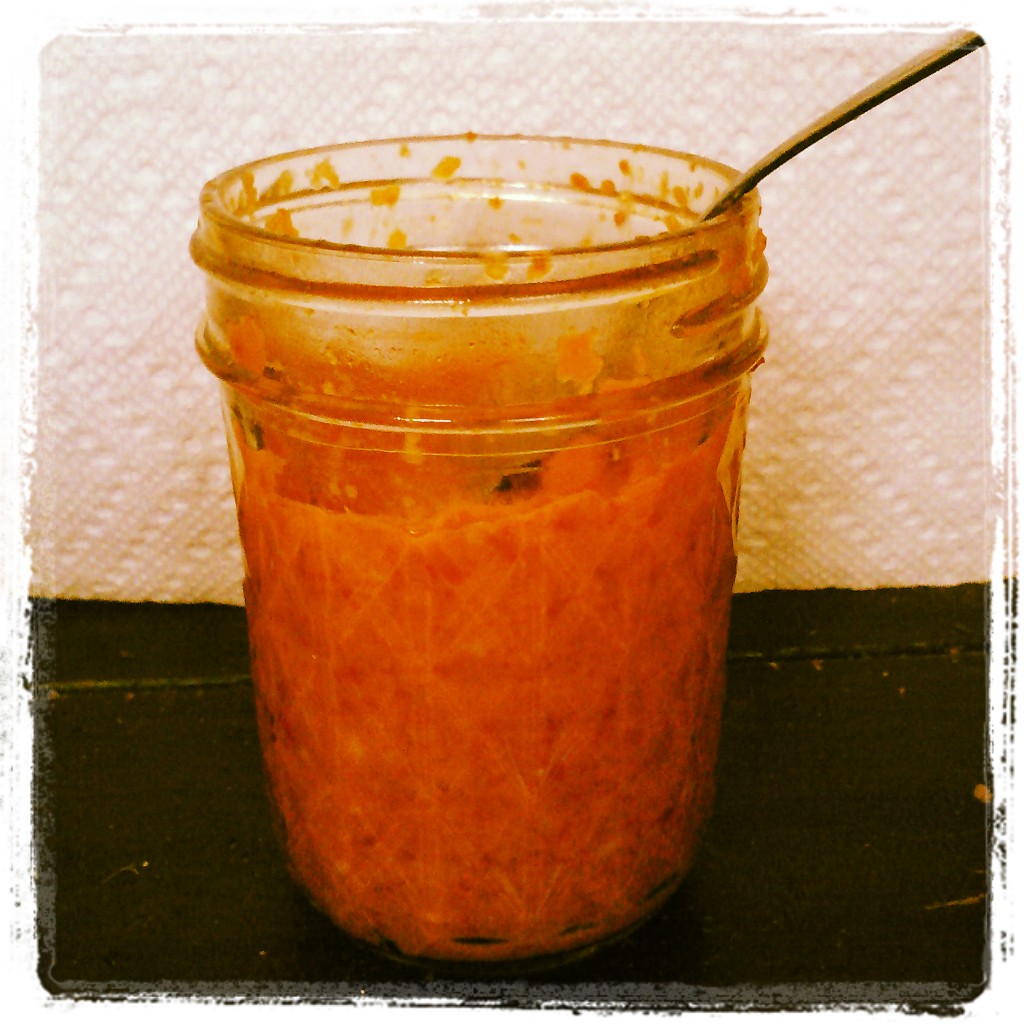
 One of my latest cookbook purchases is an ode to hot sauce making: Hot Sauce!
My attention first fell to the recipe for pili pili. Â Literally meaning “pepper” in Swahili, pili pili is an African hot sauce that deals out a solid burn without forgoing flavor. Â Unfortunately, this stuff is impossible to find here in the States. Â Luckily, Fayaz has a few hook-ups in his native land of Tanzania to supply himself and a few friends.
In making the recipe, I used five jalapeños and one habanero.  The fresh flavor of the hot sauce was fantastic blend of sweet and spice.  I can see this stuff being great with everything.  On mac & cheese, burgers, pizza…  Yum. Though, on the next go, I may need to up the habaneros to give a little more heat.
.
.
Ingredients:
- 2 cup of loosely packed fresh jalapeños or habaneros (about 6 or either), stemmed

- 1 small yellow onion, peeled and quartered
- 1/4 cup fresh squeezed lemon juice
- 1/4 cup of olive oil
- 1 teaspoon chopped garlic
- 1 teaspoon ground ginger
- 1 teaspoon salt
Directions:
Add all of the ingredients to a food processor or blender and purée.  Transfer the mixture to a skillet and cook over medium heat for a few minutes.
Let cool a bit, then pour into glass bottles and seal. Â Refrigerated, the sauce will keep for 2 weeks.
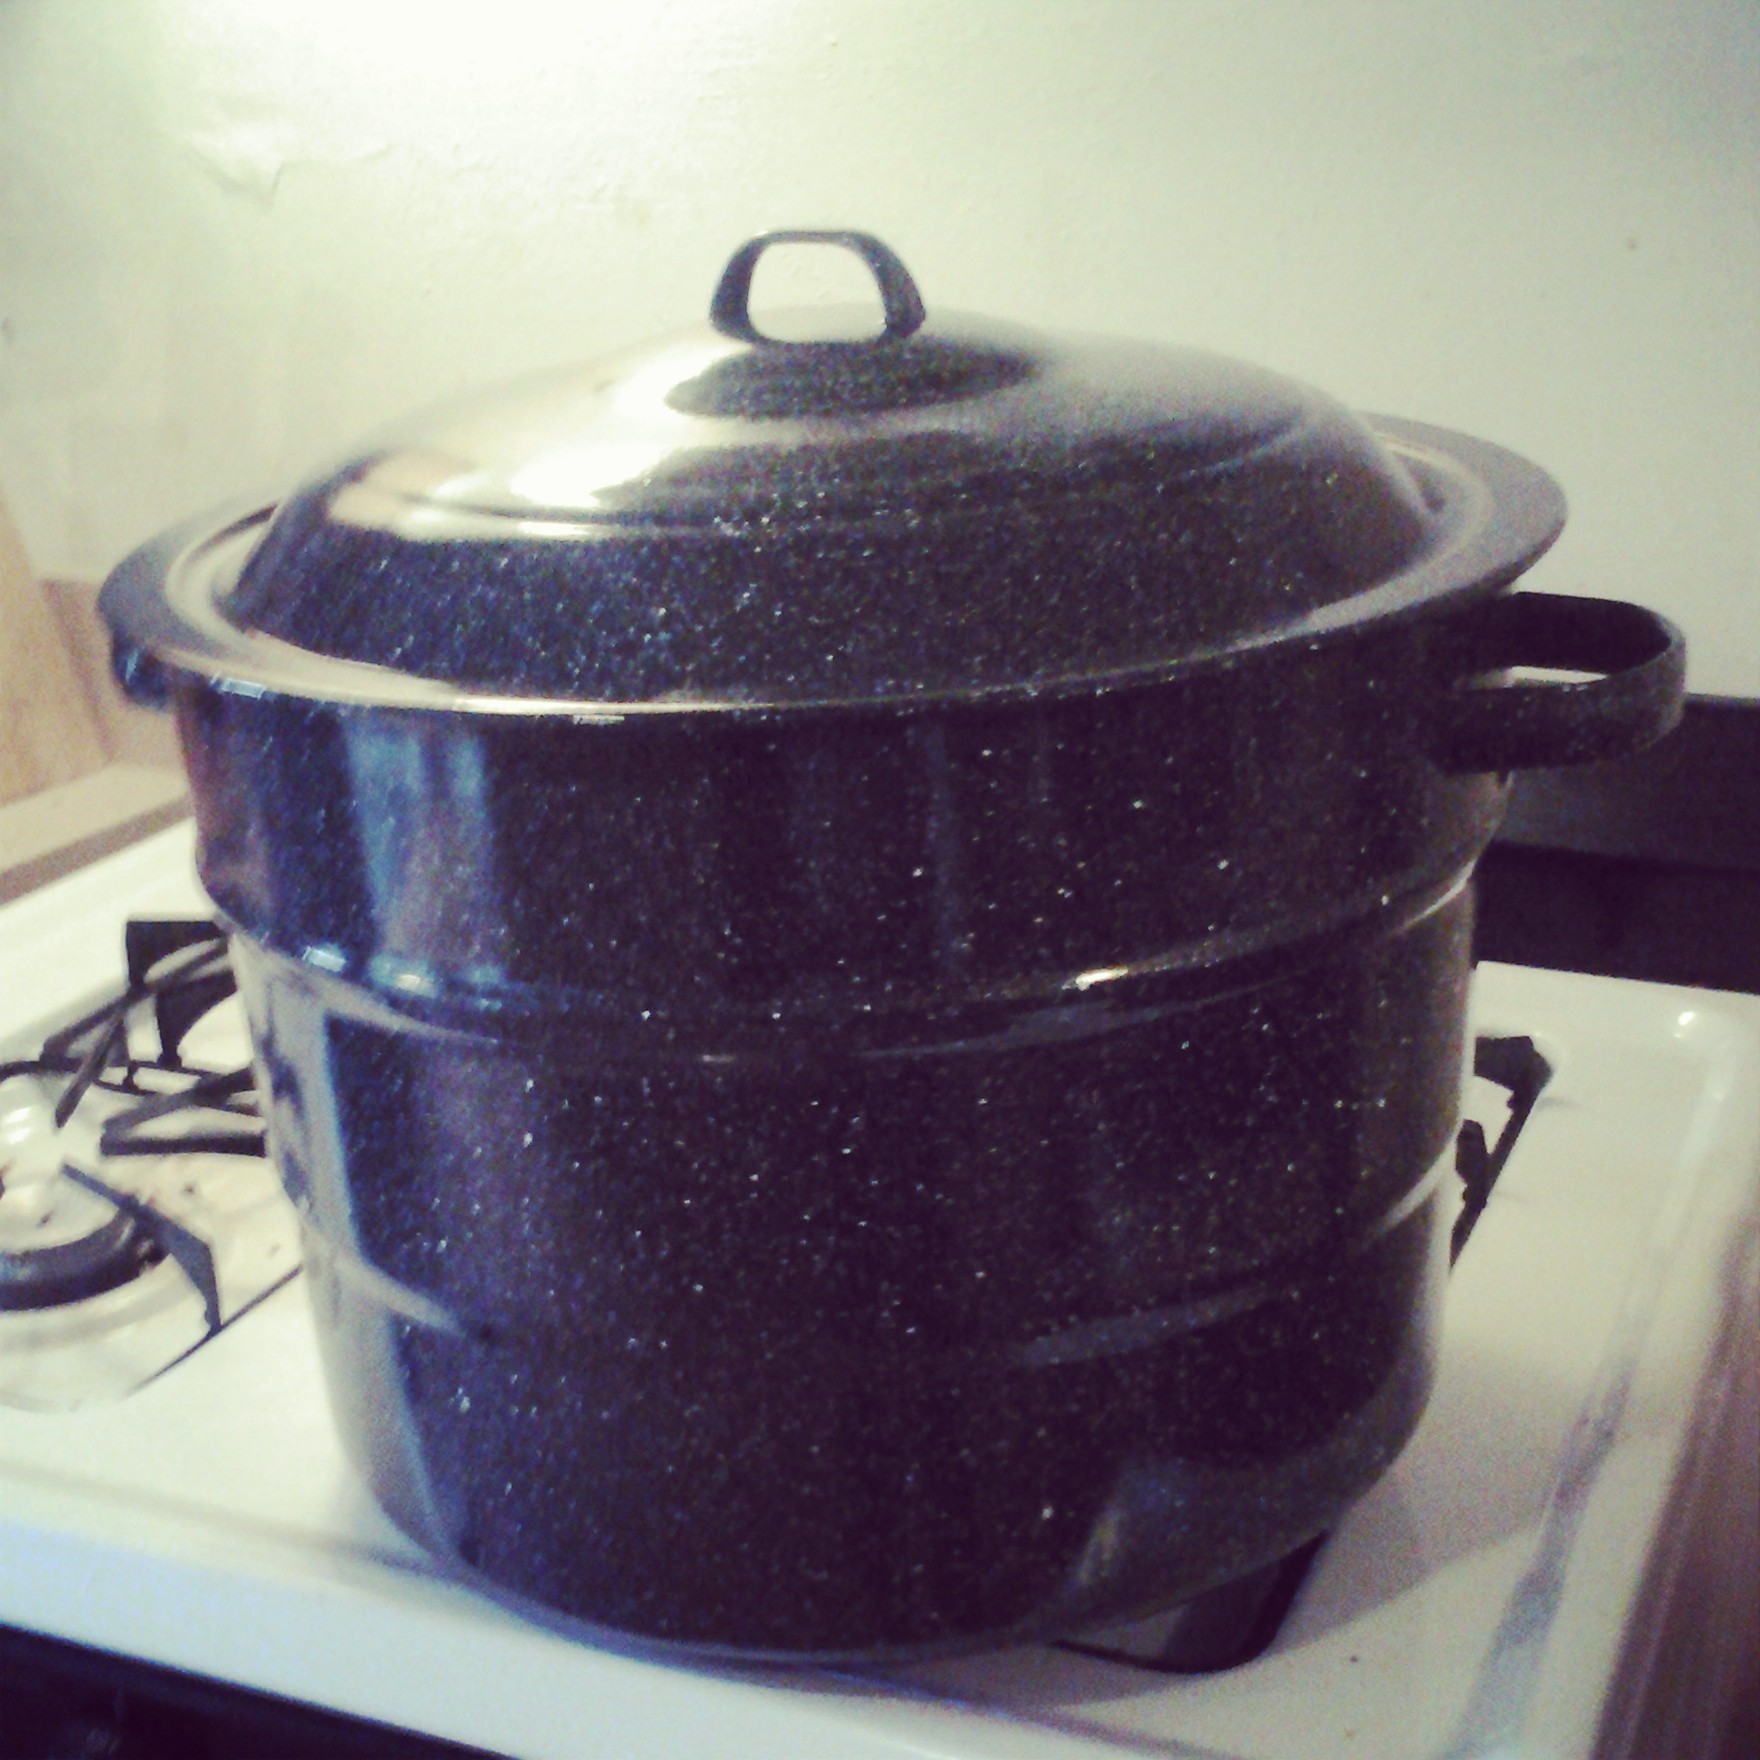
 One of my goals for the summer is to start canning. Â I’ve joined a CSA and expect to have a lot of produce around. Â Plus, the farmer’s market will be calling to me every Saturday morning. Â I hope save the summer’s bounty for the dark days of winter. Â But I’ve never canned a thing before. Â At least not until today.
I saw the recipe for this mango chutney in the New York Times and decided it was time to give this canning thing a trail run.  Since it was my first go at the canning process, it took me a little longer than the 2 hours the recipe described.  I decided to use the Tommy Atkins mangos and golden raisins. The one substitution I was forced to make was use of Kaffir lime leaf from a jar rather than fresh or dried.  I just could easily get my hands on the later.  This may have added a little more bitterness, but the result is solid.  It seems to have worked!
The uncanned chutney is a powerful mixture of acid, sweetness, spices, and heat. Â If the canned flavor is consistent with the uncanned it may be too strong to use as a jam, but would be great paired with food. Â I’m thinking grilled pork chops will be perfect.
As the jars cooled and pinged closed I couldn’t help a satisfied smile. Â I’m excited to have my first go at canning under my belt and I’m looking forward to some more exploration over the summer.
————————————————————————————
.
Ingredients.
-     5 pounds mangoes, about 9 Champagne or 6 Tommy Atkins
- Â Â Â Â 1 cup, or 7 ounces, golden raisins (or dried cranberries, cherries or apricots)
- Â Â Â Â 1 cup apple cider vinegar
- Â Â Â Â 1 cup, or 7 ounces, brown sugar
- Â Â Â Â 1/2 cup finely minced onion
- Â Â Â Â 1/4 cup peeled, finely minced fresh ginger
- Â Â Â Â 1 teaspoon yellow mustard seed
- Â Â Â Â 1 teaspoon coriander seed
- Â Â Â Â 6 cardamom pods, seeds extracted
- Â Â Â Â 6 Kaffir lime leaves
- Â Â Â Â 1 4-inch Chinese long red hot chile, or to taste
- Â Â Â Â 1 4-inch serrano chile, or to taste
.
Directions
 1.  Peel and dice the mangoes to yield 5 cups, or 2 pounds 4 ounces.
2. Â Put a rack or a folded kitchen towel in a large pot, fill with water and bring to a boil. Add 6 half-pint canning jars and boil for 10 minutes. Jars may be left in the warm water until ready to be filled. (Alternatively, sterilize jars by running them through a dishwasher cycle, leaving them inside until ready to fill.)
3. Â Place canning rings in a small saucepan, cover with water and bring to a boil. Turn off heat and add lids to soften rubber gaskets. Rings and lids may be left in water until jars are filled.
4.  In a large, heavy, nonreactive pot, stir together mangoes, raisins, vinegar, brown sugar, onion and ginger together. Crush the mustard, coriander and cardamom seeds with the side of your knife or a rolling pin. Add to the pot and stir well. Add the lime leaves.
5. Â Wearing gloves, slice the chiles into rings. Remove seeds if you wish. Decide how much chile suits your taste. (If you are heat averse, start with half the recommended amount and taste. The chiles may be omitted altogether for a sweeter chutney.)
6. Â Bring heat up to medium and stir occasionally as mixture comes to a boil. Bring to a good hard boil, stirring all the time. Cook for 25 minutes, being careful to avoid sticking and burning as the mixture thickens. Adjust heat as needed without losing the boil and continue to stir.
7. Â After 25 minutes, the mixture should be thick, with the fruit suspended in the tangy syrup, and a spoon pulled along the bottom of the pot leaving a trail. Turn off heat and discard the lime leaves.
8. Â Ladle the hot chutney into warm jars, leaving 1/2-inch headspace. Run a plastic knife gently around inside of jar to remove any air bubbles. Recheck headspace. Wipe jar rims clean with a damp towel. Place lids on jars, screw on rings and lower jars back into pot of boiling water. Return to full boil and boil jars for 15 minutes. Transfer jars to a folded towel and let cool for 12 hours; you should hear them ping as they seal.
9. Â Once cool, test seals by removing rings and lifting jars by their flat lids. If the lid releases, the seal has not formed. Unsealed jars should be refrigerated and used within a month, or reprocessed. (Rings and jars may be reused, but a new flat lid must be used each time jars are processed.) To reprocess, reheat syrup to boiling then continue as before.
I’m going to start with a warning: this recipe takes more time and effort than it looks. Â That shouldn’t scare you off. Its not hard. But its also not the easy weekday dinner I thought it would be when I open the pages of my cook book one evening on a Tuesday night. Â The recipe involves pounding cardamom pods to get at the seeds and has a minimum four hour date with a marinade. (The recipe warns the marination time is critical and I’m inclined to believe it.) Â It was good reminder to read through a new recipe in detail before making plans!
I pulled this recipe from Good Meat.  Loren’s posts put this cookbook put it on my Christmas list and Santa seemed to think I was nice enough last year to grant my wish.  Paging through the cookbook is to anyone who loves meat as pornography is to a 15 year old boy.  The book is packed full of awesome information about meats and the processes for cooking them.  And the photos are amazing. I was excited to finally break into a cook of my first recipe from this tome.
Unfortunately, the results were less than stellar.  I would classify the chicken as edible.  Much of the error may be on my end.  Instead of bone-in skin-on thighs I accidentally grabed the boneless skinless variety.  The cardamon flavor was just overwhelming.  The fat of skin-on thighs would help cut this down.  Cardamon is also not flavor I’m very accustomed too.  Though, when I ate the leftovers the second day, the cardamon flavors had mellowed to an enjoyable level.
On the next go I may try reducing the amount of marinated or marinating for only four hours rather than overnight. Â There is something good here and I’ll definitely be giving this recipe another go.
——————————————————————————–
Ingredients:
- 1/4 cup whole green cardamon pods or 1 to 2 tablespoons whole black cardamom seeds out of the pod.
- 2 cloves of garlic, diced
- 1 tablespoon of kosher salt
- 1/4 cup fresh or dry oregano
- 1/4 cup plus 2 tablespoons olive oil
- 4 to 6 large skin-on bone-in chicken thighs
- Freshly ground pepper
Directions:
Select a shallow pan that will hold the thighs closely in one layer, such as a quarter sheet pan, cast-iron lasagna pan or frying pan, or gratin dish.
Using a mortar and pestle, or a heavy resealable plastic bag on the back of a cast-iron frying pan, pound the cardamom pod until they split. Discard the husks, and bruise the tiny black seed by pounding them a little to release their oils. Â Add the garlic, salt, and oregano and bash away to release their oils. Â Transfer the mixture to a bowl, then stir in the olive oil to a thin the paste.
Arrange the thighs, flesh side up, in the pan and massage half the paste onto the flesh; turn them over and do the same on the skin side with the remaining paste. Â Allow the meat to marinate, covered and refrigerated, for at least 4 hours or overnight before bring back to room temperature. Â Grind black pepper over the thighs.
Heat the oven to 450 degree, and set a rack along the top of the oven, just under the heating element (although you are not broiling, this exposes the skin to more heat for crispness). Â When the oven is good and hot, roast the chicken for 45 minutes, turning the meat over half way through cooking.
When done, the skin should be beautifully crisp and the flesh completely cooked through. Â Serve warm or at room temperature with rice.
Many of the recipes in my new favorite Mexican cookbook, Truly Mexican, call for chile powder.  Yes, you can buy the stuff in the store and the cookbook’s author gives you the go ahead to use the store bought stuff when the homemade isn’t on hand. But making the chile powder from scratch is so easy, cheap, and quick I’m willing to make the investment.  Plus, I love spice.  Having a another option to spice-up any meal in front of me is a good thing and the powder stores up to three months.  I’ve only made the recipe using árbol chiles, but I’m very curious to try the other options.
I don’t have a spice grinder, but the blender method worked out great.
The recipe yields 1/4 cup.
———————————————————–
Ingredients:
1 ounce dried árbol (30 to 40), cascabel (about 5), or chipotle mora (8 to 10, purplish-red color) chiles, wiped clean and stemmed.
Directions:
Heat or comal, griddle, or heavy skillet over low heat for árbol chiles and medium-low for cascabel and chipotle chiles.
For the árbol chiles, toast them, turning them over and pressing them down frequently with tongs until they are browned with some blackened spots, about 8 minutes.
For the cascabel chiles, break each into about 3 pieces for easier toasting, then shake out and reserve the seeds. Â Toast the pieces turning them over and pressing down frequently with tong, until they turn a lighter, slightly mottled red, about 1 minute. Â Remove the pieces. Â Toast the seed in the skillet, shaking and tossing, until they’er lightly browned and fragrant, 20 to 30 seconds.
For the chipotle mora chiles, toast them, turning them over frequently, until dark, blackish blisters appear in spots (some will even puff up), 3 to 5 minutes.
Grind or blend the chiles (and the toasted seed, if you’re using cascabel chiles) to a powder in a spice grinder or blender jar.
Store in an airtight container in a cool dark place (not in the refrigerator) for up to 3 months.


ABOUT
Good Food, Good Drink, Great Living
RECENT POSTS
| M | T | W | T | F | S | S |
|---|---|---|---|---|---|---|
| 1 | 2 | 3 | 4 | |||
| 5 | 6 | 7 | 8 | 9 | 10 | 11 |
| 12 | 13 | 14 | 15 | 16 | 17 | 18 |
| 19 | 20 | 21 | 22 | 23 | 24 | 25 |
| 26 | 27 | 28 | 29 | 30 | 31 | |
Tags
Archives
- November 2014 (1)
- October 2014 (2)
- September 2014 (1)
- April 2014 (1)
- March 2014 (1)
- February 2014 (1)
- January 2014 (1)
- December 2013 (4)
- November 2013 (2)
- October 2013 (1)
- September 2013 (1)
- August 2013 (4)
- July 2013 (4)
- June 2013 (6)
- April 2013 (5)
- March 2013 (5)
- February 2013 (1)
- January 2013 (3)
- December 2012 (2)
- November 2012 (13)
- October 2012 (4)
- September 2012 (6)
- August 2012 (3)
- July 2012 (4)
- June 2012 (6)
- May 2012 (10)
- April 2012 (13)
- March 2012 (5)
- February 2012 (5)
- January 2012 (2)
- December 2011 (16)
- November 2011 (8)
- October 2011 (10)
- September 2011 (10)
- August 2011 (12)
- April 2011 (2)
- March 2011 (8)
- February 2011 (7)
- January 2011 (7)
- October 2010 (5)
- September 2010 (8)
- August 2010 (12)
- July 2010 (5)