Cooking
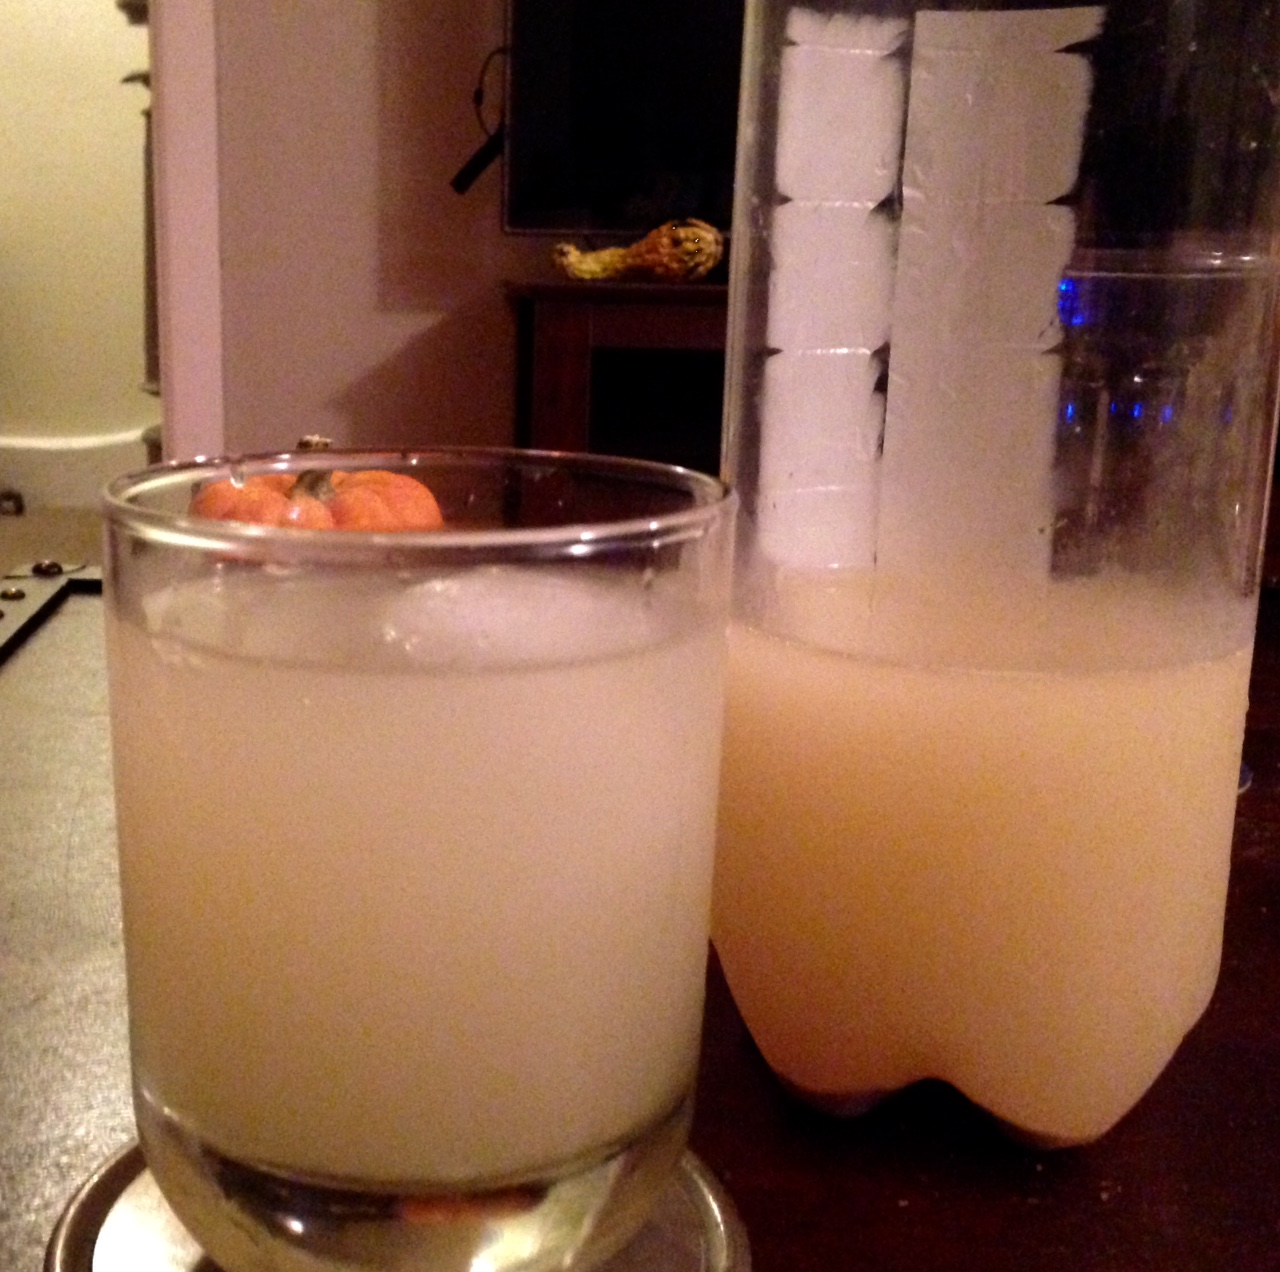
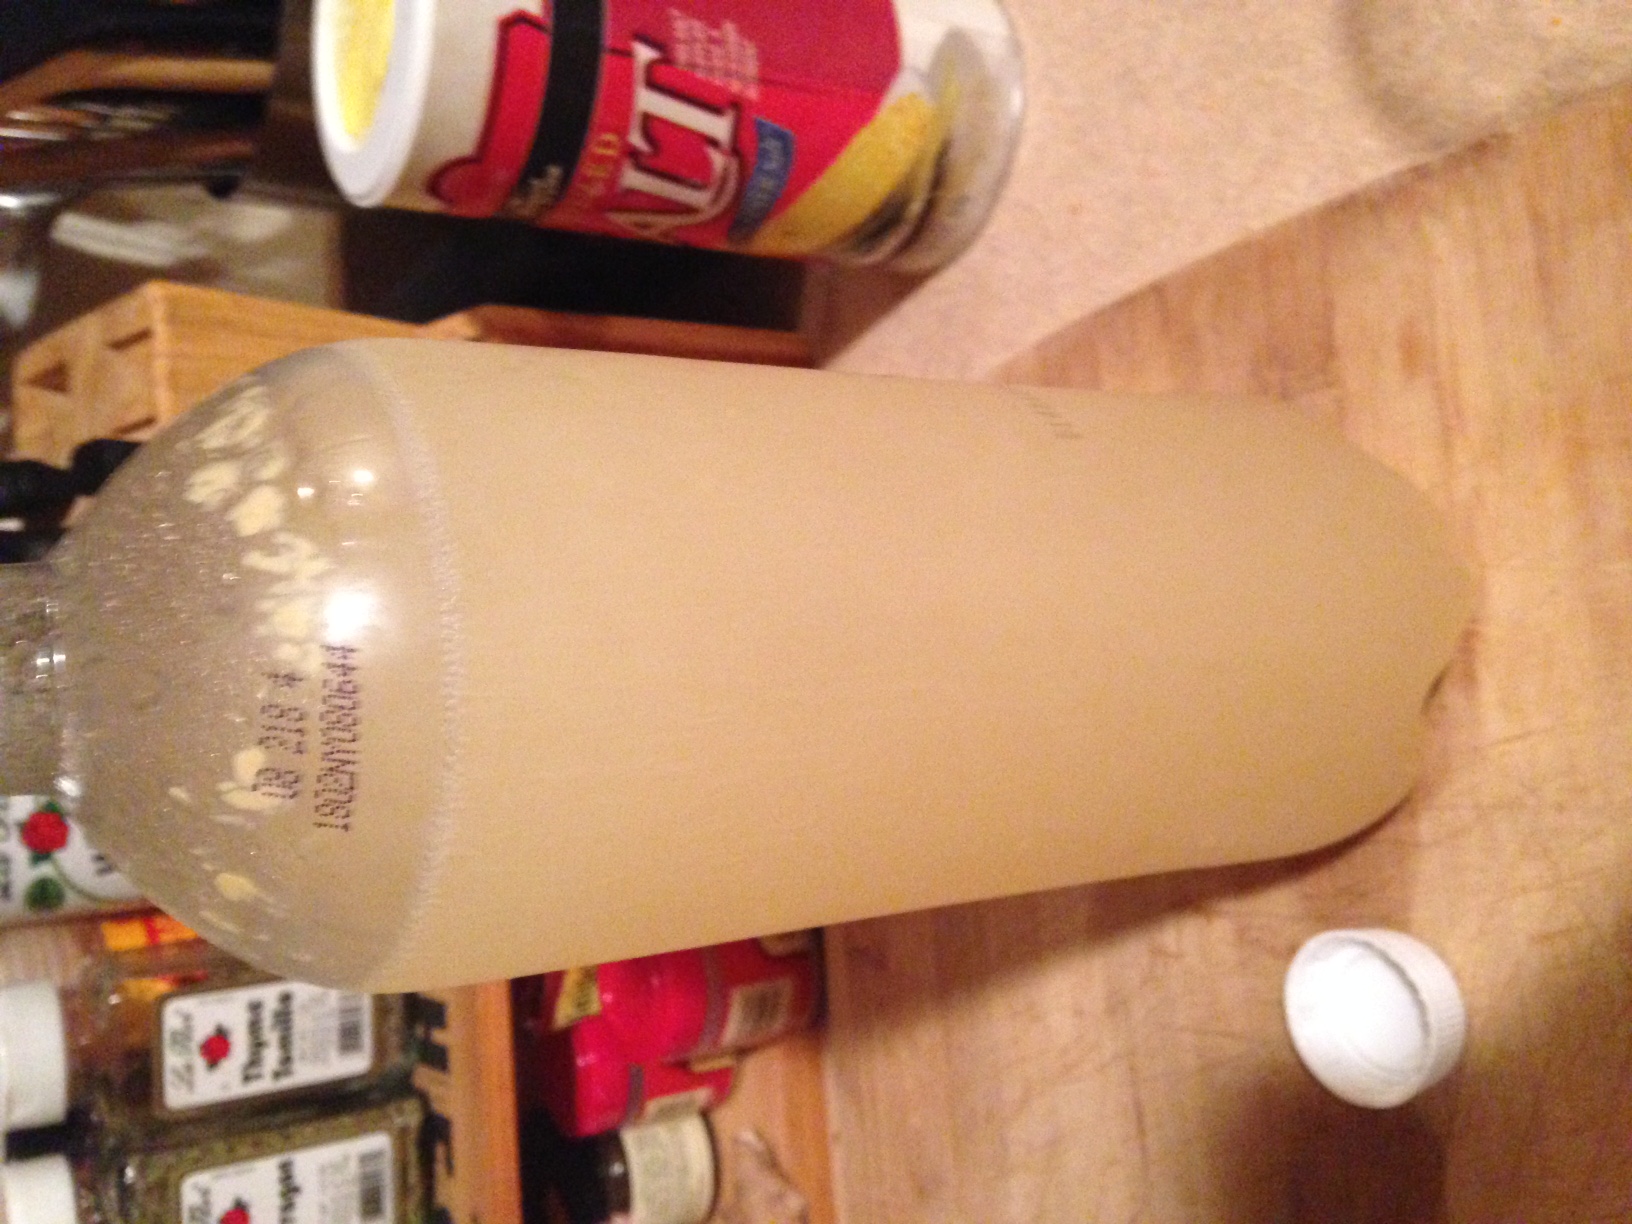 The best feeling in the kitchen is when something comes out so well it’s surprising. I had that feeling while unscrewing the cap on my first bottle of homemade ginger beer. Before I had even taken a sip, I could see the tiny bubbles filtering up through the opaque liquid. Even if it didn’t taste right I had carbonated a beverage using only the power of yeast, sugar, and water. Lucky it also tasted good–maybe not as strong in flavor as I would have liked but the burn grew the lower down in the bottle I went.
A few months back I was doing a road trip through the Midwest with some friends. When we stayed with a couple in Chicago the lovely lady of the house was in the process of starting to brew some ginger beer. I had never thought of doing that but it sounded cool. After talking to her about it she kindly sent me on my way with some champagne yeast to help do the job. The yeast sat about in my kitchen for a good while until I started reading Proof: The Science of Booze (a must read for any one who is at interested in science and drinking). The description in the first few chapters of the magic and history of fermentation made me need to try it myself.
—-
I had misplace the printed instructions my friend and given me and so took to the internet and found this:
Ingredients
2 1/2 cups (600 milliliters) warm, filtered (or pre-boiled) water
1 1/2 teaspoons champagne yeast (the everything store has it)
Freshly grated ginger
Granulated sugar
Juice of 2 lemons
1 jalapeño, sliced (optional–I didn’t use, but will on a next go)
1 large glass jar
2 to 3 clean plastic soda bottle
Directions (with my own take):
Drink Up
The first step is making a “plant” for the ginger beer. In a glass jar stir the yeast into the water until dissolved. Add in 1 tablespoon freshly grated ginger, 1 tablespoon sugar, the lemon juice, and the sliced jalapeño, if you’re using it. Stir to combine. (The jalapeño supposedly gives the ginger the burn–I didn’t use it and got some burn, but not as much as I would have liked). Cover the jar with a cheese cloth a rubber band. Place the jar in a warm place.
Every day for the next week you’ll have to feed the plant. Each day add a tablespoon of grated ginger and a tablespoon of sugar. Stir until the sugar dissolves, then replace the cloth and put back in a warm place. Don’t worry about being exact at this phase. After week there should be bubbles of a foam on top of the liquid. If you want a stronger flavor keep the plant going longer. The next step is bottling. I used a two liter bottle and a one liter bottle.
Use plastic bottles. Again: use plastic bottles. The pressure can really build up from the fermentation. If you use glass it could explode.
Using a cheesecloth, strain the plant out into a large measuring cup or bowl.
Fill the bottles two thirds of the way with water, use a funnel to add sugar, and shake to dissolve the sugar into the water. Add about a cup of the plant liquid to each clean, dry soda bottle — more if you want your ginger beer stronger, less if you want it less intense. Stir with a chopstick to combine. In adding half the mixture to a one liter and half to a two liter I could taste the extra strength in additional plant in the bottle.
Seal the bottles tightly with their caps and put them back in the a warm place. Every 24 hours, squeeze the bottles to test how they’re carbonating. When they feel like a rock and are impossible to squeeze at all, slowly start to unscrew the cap just until you hear hissing, but do not open it all the way. Let out some of the carbonation, then seal it back tightly.
After about two weeks of bottle time the magic of fermentation should have happened–that sugar will now be booze and it’s time to enjoy. Add more sugar or lemon juice if the ginger beer needs it. Then drink it on the rocks or make your self a Moscow Mule or Dark N’ Stormy. Just make sure you finish the bottle in a few hours–it goes flat fast.
—-
The video recommends a serrated knife. I still think a properly sharpened straight edge knife is better–a sharp knife will have no problem with the skin. But, if you find yourself without an nice sharp knife, grab one of your serrated.
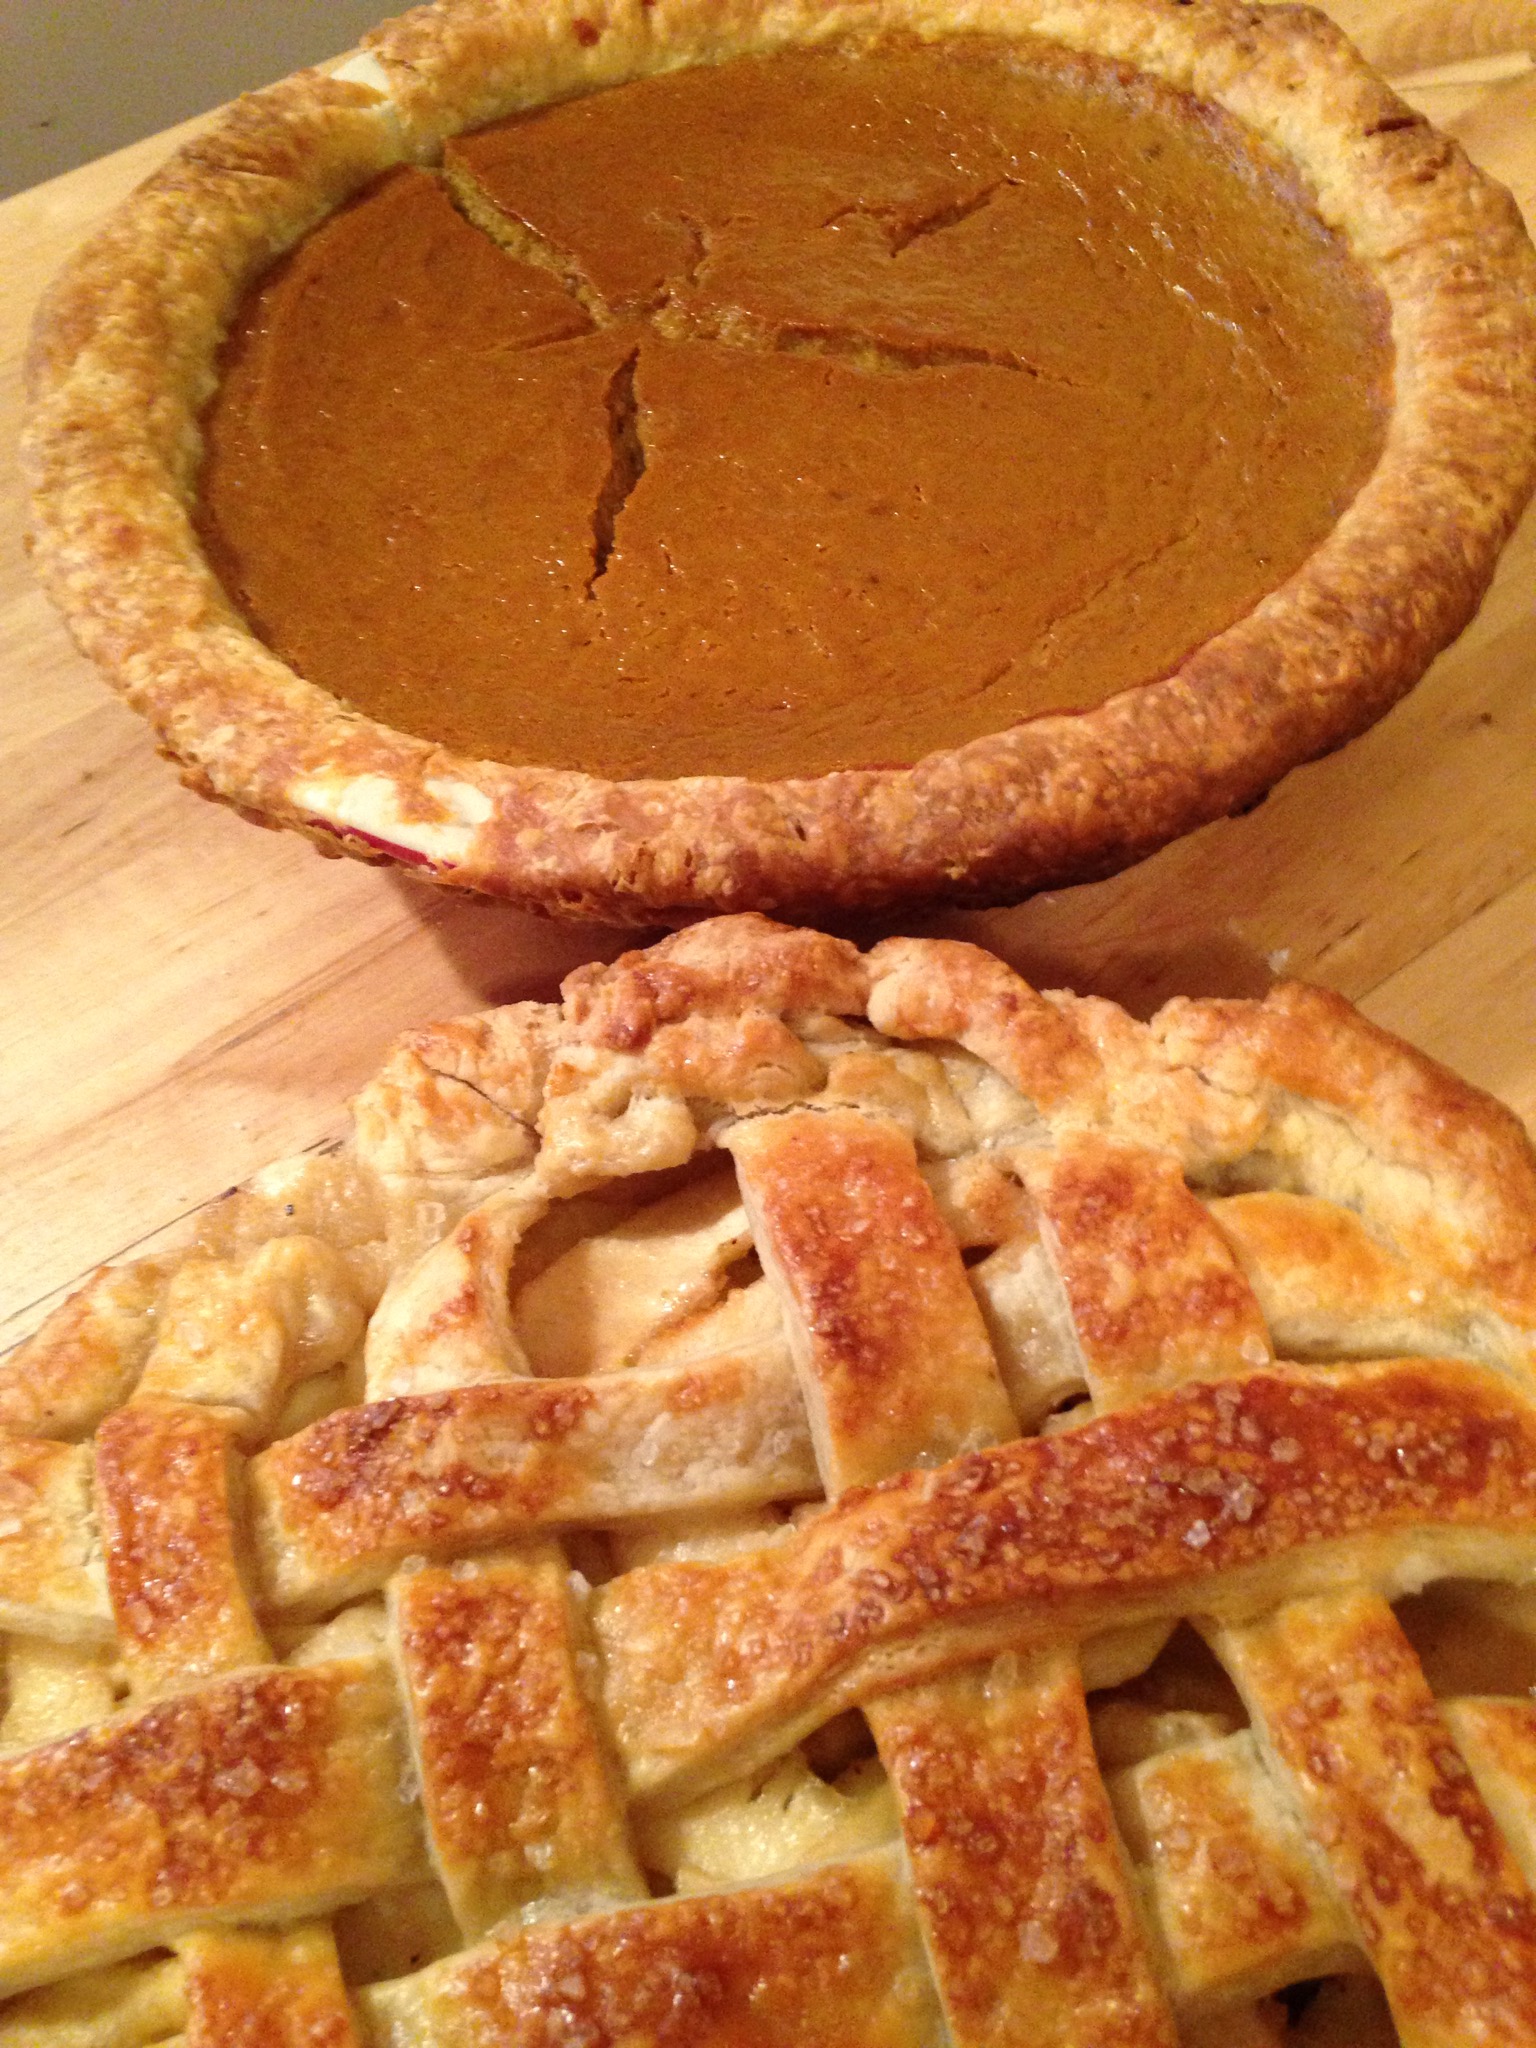
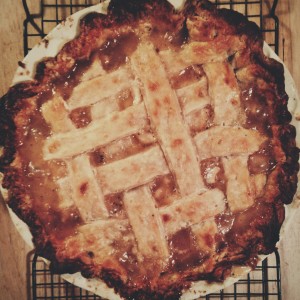
 Starting last summer, I set a few fun personal goals with a couple close friends. Among my culinary goals for 2014 is baking 20 pies. Each fully from scratch.
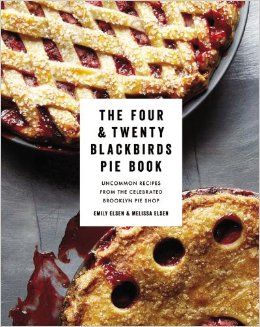
The inspiration came from my mother’s Christmas present of  The Four & Twenty Blackbirds Pie Book. This book had made it onto my Amazon wish list through lunch time reading of some top cookbooks of 2013 list.  At the start of 2014 I had made exactly zero pie crusts from scratch and the idea of trying intrigued me. Once I paged through the book I was hooked. Drawn in by the mouth watering photographs, I knew I had to figure out how to take on this task.The number 20 seemed like a great balance between sufficient practice and achievability.
Since I received the book in the mail about five weeks ago, I’ve made it through four pies: a butter milk chess pie, a pear anise pie, a juniper pear pie, and a lemon chess pie. My first attempt on the buttermilk chess succeed in having a fully formed crust and filling in the shape of a pie. My problem with the maiden voyage was various errors in rolling out the crust (many surrounding too little flour) cause me to over work the dough which resulted in a hard not flaky crust. But with each attempt I’ve learned more (e.g. let the dough rest in the fridge–cold dough is much easier to work) and gotten better results.
As a cookbook, The Four & Twenty Blackbirds Pie Book is a decent stand alone starting source for a pie newbie with 20+ illustrated pages dedicated to technique. The book advises against machine working the ingredients. I was fine avoiding the cost of finally biting the bullet of buying a food processor. Rather, a small investment in a simple hand held pasty blender did just fine. Other than that, I found no other special tools necessary. Just some simple ingredients and I was off baking. [I’m still rolling around the best way to represent the actual pie recipes here.]
And I’m still hooked. I’m able to achieve tasty results (lets face it, even with a mediocre pie crust like my first, a pie is still a pie) but I see room from improvement on each baking (let’s make it look more like the picture, form a more prefect lattice, keep the edge of the crust from browning too much, etc.). And, still paging through the book, I’m dreaming of spring at the farmer’s market and new fresh ingredients.

In case you’re not in Minnesota, or have been intentionally avoiding television news for the last 3 weeks, let me bring you up to speed; it is brutally cold up north here. I usually pride myself on being someone who doesn’t mind the winters, as though the ability to survive a 6 month period spent entirely indoors somehow grants me a moral high ground. Well, this winter is close to breaking me. A few things to put this winter in context: Over the entirety of my K-12 education, I got two days off; one for snow, and one for cold weather. Halfway through this winter, school has been cancelled three five times for cold weather (cancelled twice more between the time I started and finished this post!).  More than once this winter, it has been -20 when I walked out to my car in the morning. NEGATIVE. TWENTY. So cold that the moisture in my breath freezes on my mustache instantly. So cold that my car creaks and groans when I get in every morning, and the heater doesn’t start putting out warm air until I’m basically turning into my work parking lot. So cold that your eyes water involuntarily, and then your tears freeze to your face.
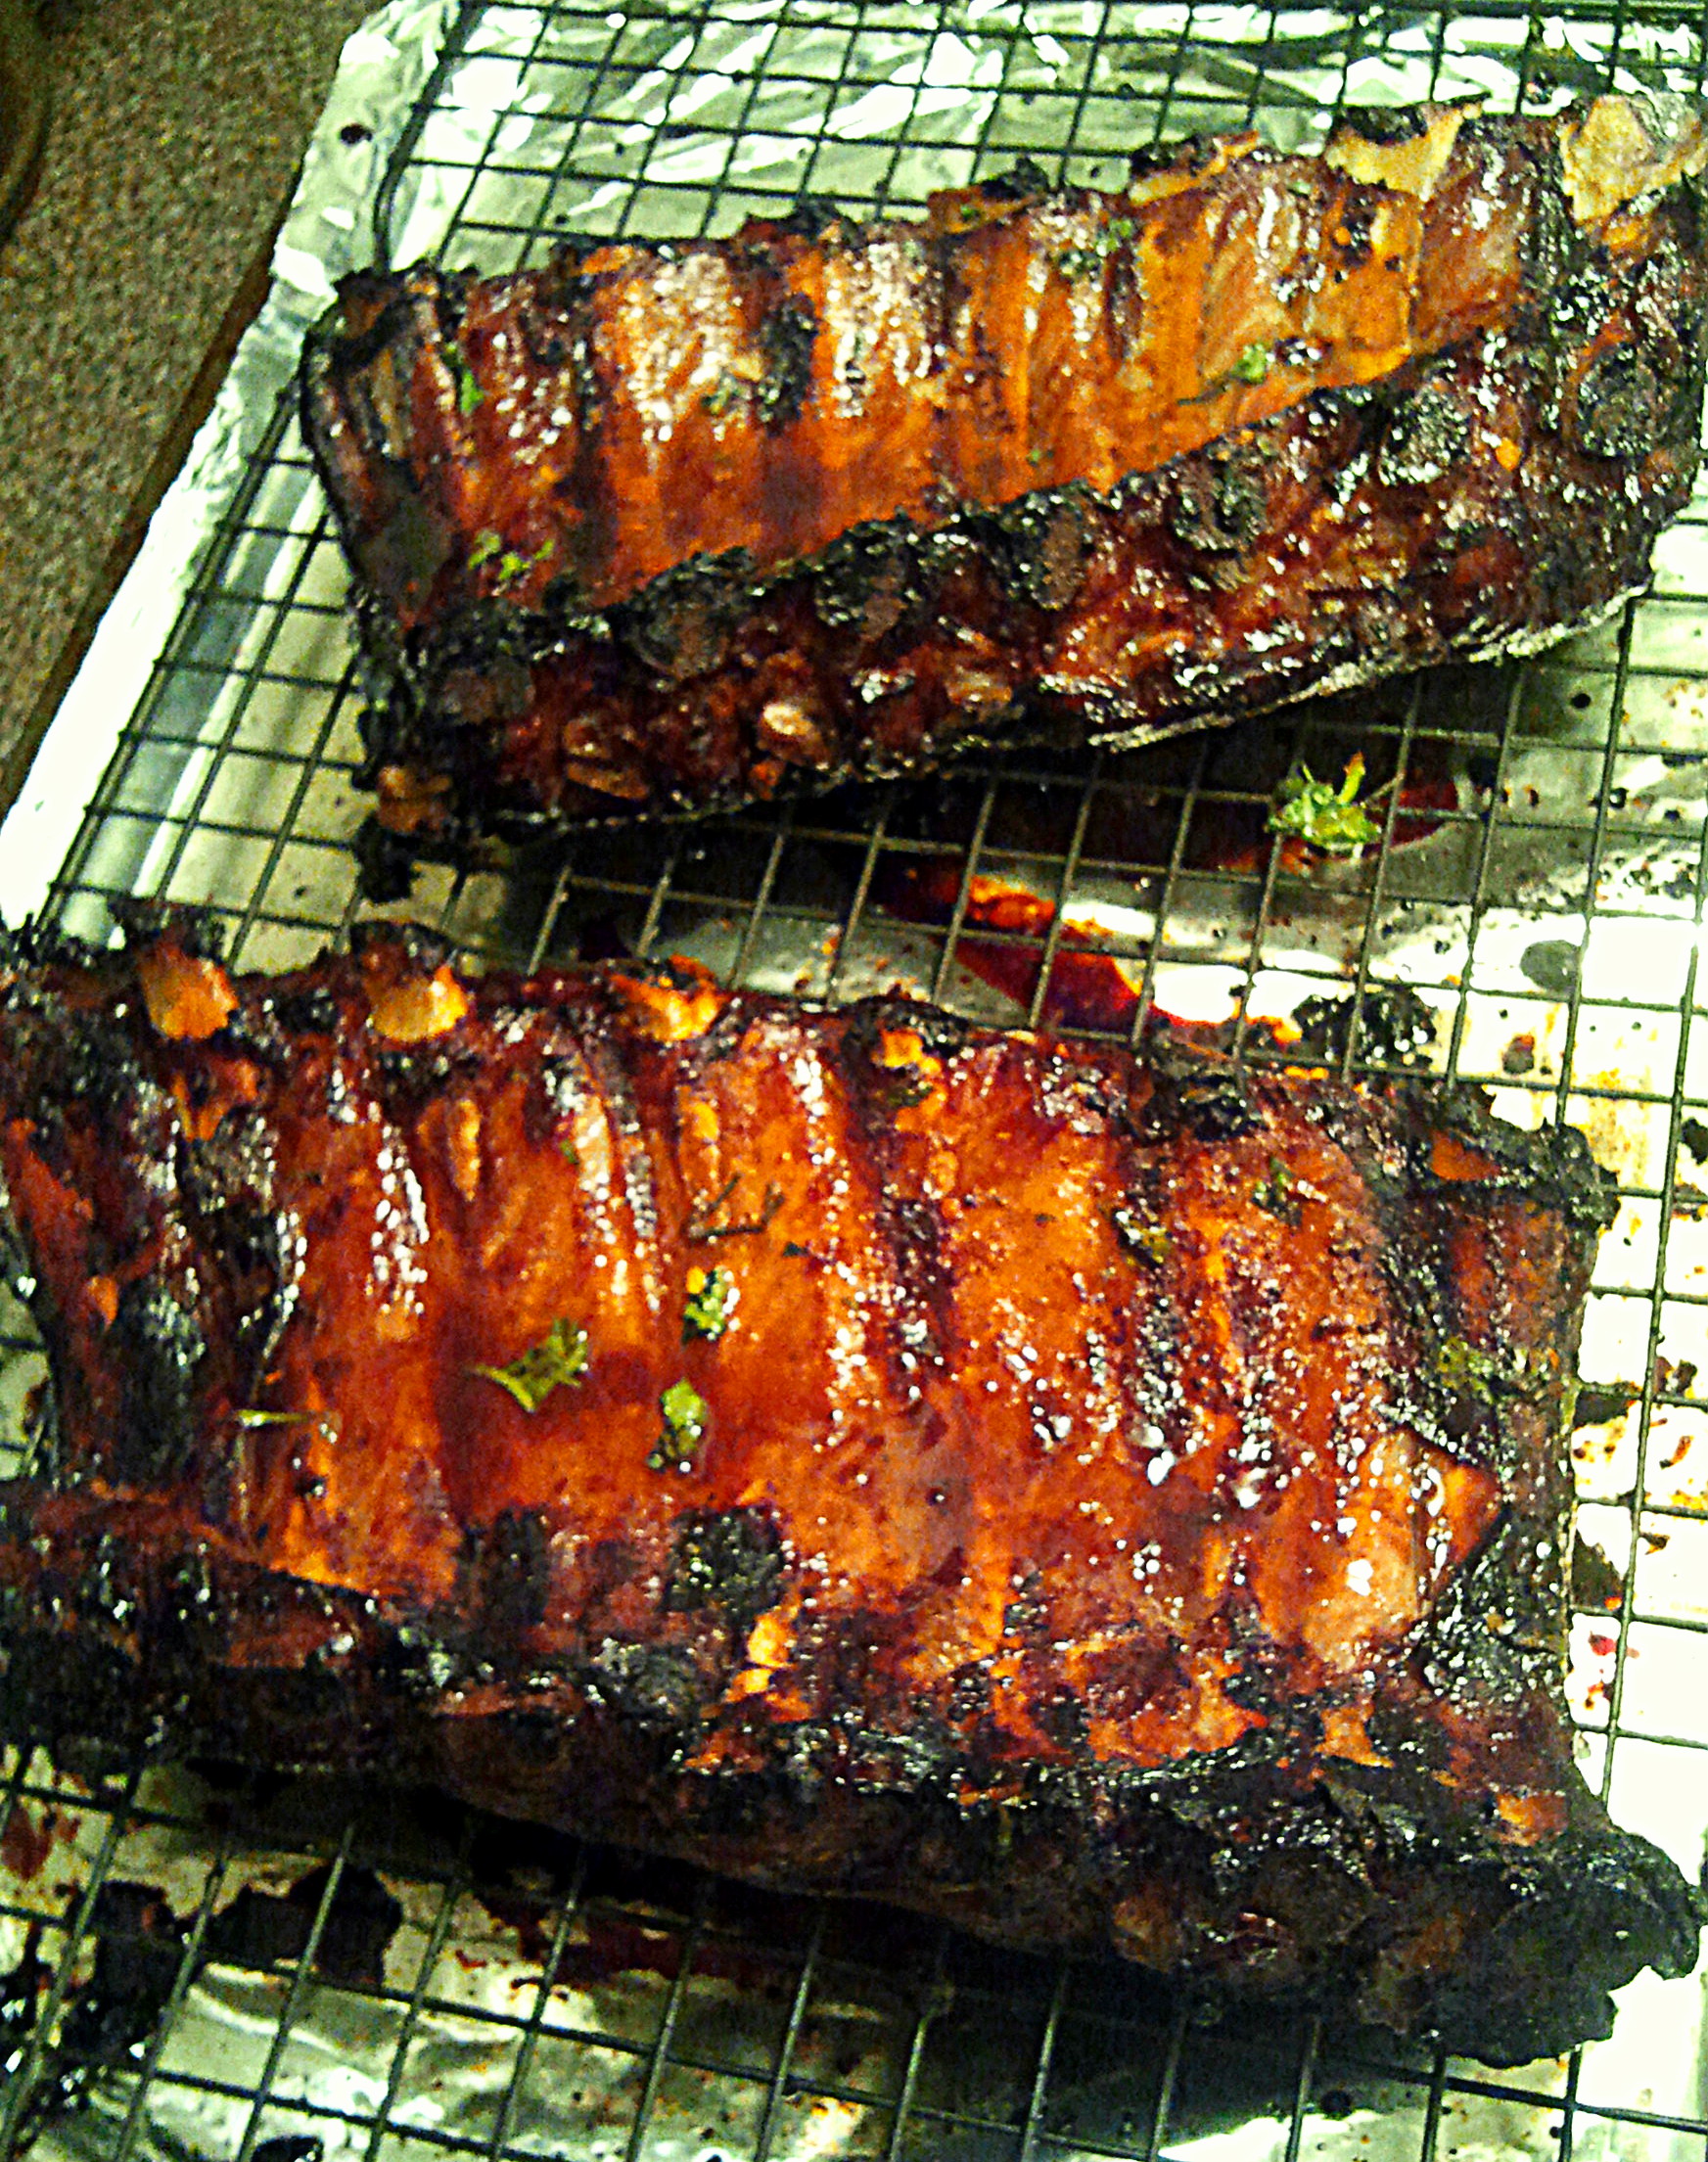
Suffice it to say, I’m pretty damn sick of this winter, and I needed something to take me away, even if just for the evening. Enter the Asian glazed ribs. This was the perfect recipe for what I needed. The rich, juicy meat was hardy enough for a winter evening, but the south Asian flavors made me feel like I was someplace warm. Also, while you can finish these ribs on a grill (and I am on the record as being an advocate of winter grilling), they work just fine in the oven. This is another winner from the carnivore’s bible, Good Meat.
1 rack of baby back ribs (about 2 lbs)
For the marinade:
1/3 cup soy sauce
1/3 cup bourbon
3 tbsp honey
1 tbsp grated peeled fresh ginger – I ended up mincing the ginger once i realized how slowly it was grating on my microplane.
Freshly ground black pepper
1/2 tsp sesame oil
1/4 tsp ground cinnamon
1/8 tsp freshly grated nutmeg
For the glaze/dipping sauce:
3 tbsp honey
1 tbsp hot water
1 tbsp dark brown sugar
Freshly squeezed juice of 1 lime
2 tbsp fish sauce
2 tbsp soy sauce
1 tsp crushed red pepper
1/3 cup chopped fresh cilantro
You’ll need something large enough to hold the ribs while they marinate, and it needs to be non reactive (so nothing aluminum). I didn’t have a glass dish large enough, so I bought a pair of large tupperwareesque things to hold them. You can also cut the rack in half to squeeze it into the marinating dish. They should marinate at least overnight, preferably for 24 hours. Combine all the marinade ingredients and pour them over the meat. Turn the meat to coat, then refrigerate until ready to cook.
The next day, heat the oven to 300 degrees. Line a large sheet pan with aluminum foil, and place a wire rack on top. Put the ribs on the rack, meat side up, blotting off any excess marinade with some paper towels. Roast the ribs for 2 hours, or until tender.
Meanwhile, make the glaze. Combine the honey and warm water, then add the brown sugar, stirring until it is dissolved. Then add the lime juice, fish sauce, soy sauce, red pepper and cilantro. Reserve half the glaze to use for dipping at the table. Note: this is a great dipping sauce for practically any kind of Asian food. I’ll be making it the next time I have potstickers.
Baste the nearly cooked ribs and roast for another 15 minutes, or until the surface s browned and glossy. Turn the ribs, bone side up, and glaze them again, then put them under the broiler or on a hot grill until they are lightly charred. Watch them very closely on this step – Â there is a lot of sugar in the glaze which will burn quickly. Â Cut the ribs into individual pieces, if desired, and serve them warm, with the dipping sauce on the side.
Enjoy!
Slate recently had  an interesting article on the (de)merits of garlic. It captures how I’ve always felt about the stuff–it’s not a substitute for fresh garlic, but has its own place in the kitchen.  The article elaborates:
[G]arlic powder acts like glue behind glitter, adding a subtle fullness of flavor that may be more difficult to detect, but nonetheless makes the meal taste better. Like MSG, garlic powder may not be specifically discernable, but in a side-by-side comparison, the otherwise identical dish with added garlic powder will win… I often find myself adding fresh garlic at both the beginning and end of meal prep, and sprinkling powder in the middle. The trick is never to add so much that someone could say, “I taste garlic powder.â€
The author goes on to suggest making your own garlic powder. While that sounds fun and all, I’m going to be sticking with my store bought stuff for the near future.
This is my shameless attempt to get in a post for the first time in a few weeks. Hilarious. Must Watch.
During my recent weight loss efforts, I’ve found that, for me, it is much easier to make small changes which compound over many days rather than big changes which I won’t be able to stick with. A great example of that is switching to taco salads instead of tacos or burritos. I find that tortillas are one of those foods for which I don’t intuitively account for the calories they contain. It doesn’t seem like food, it seems like what goes around food, but at around 150 calories for a medium tortilla, they can start to add up if you eat more than one taco/burrito per meal. Moreover, they don’t seem to add all that much to the meal in terms of flavor or even texture. Unless, of course, you know a little old Hispanic lady who makes homemade tortillas from scratch. If that’s the case, damn the calories, you can find somewhere else to cut them out.
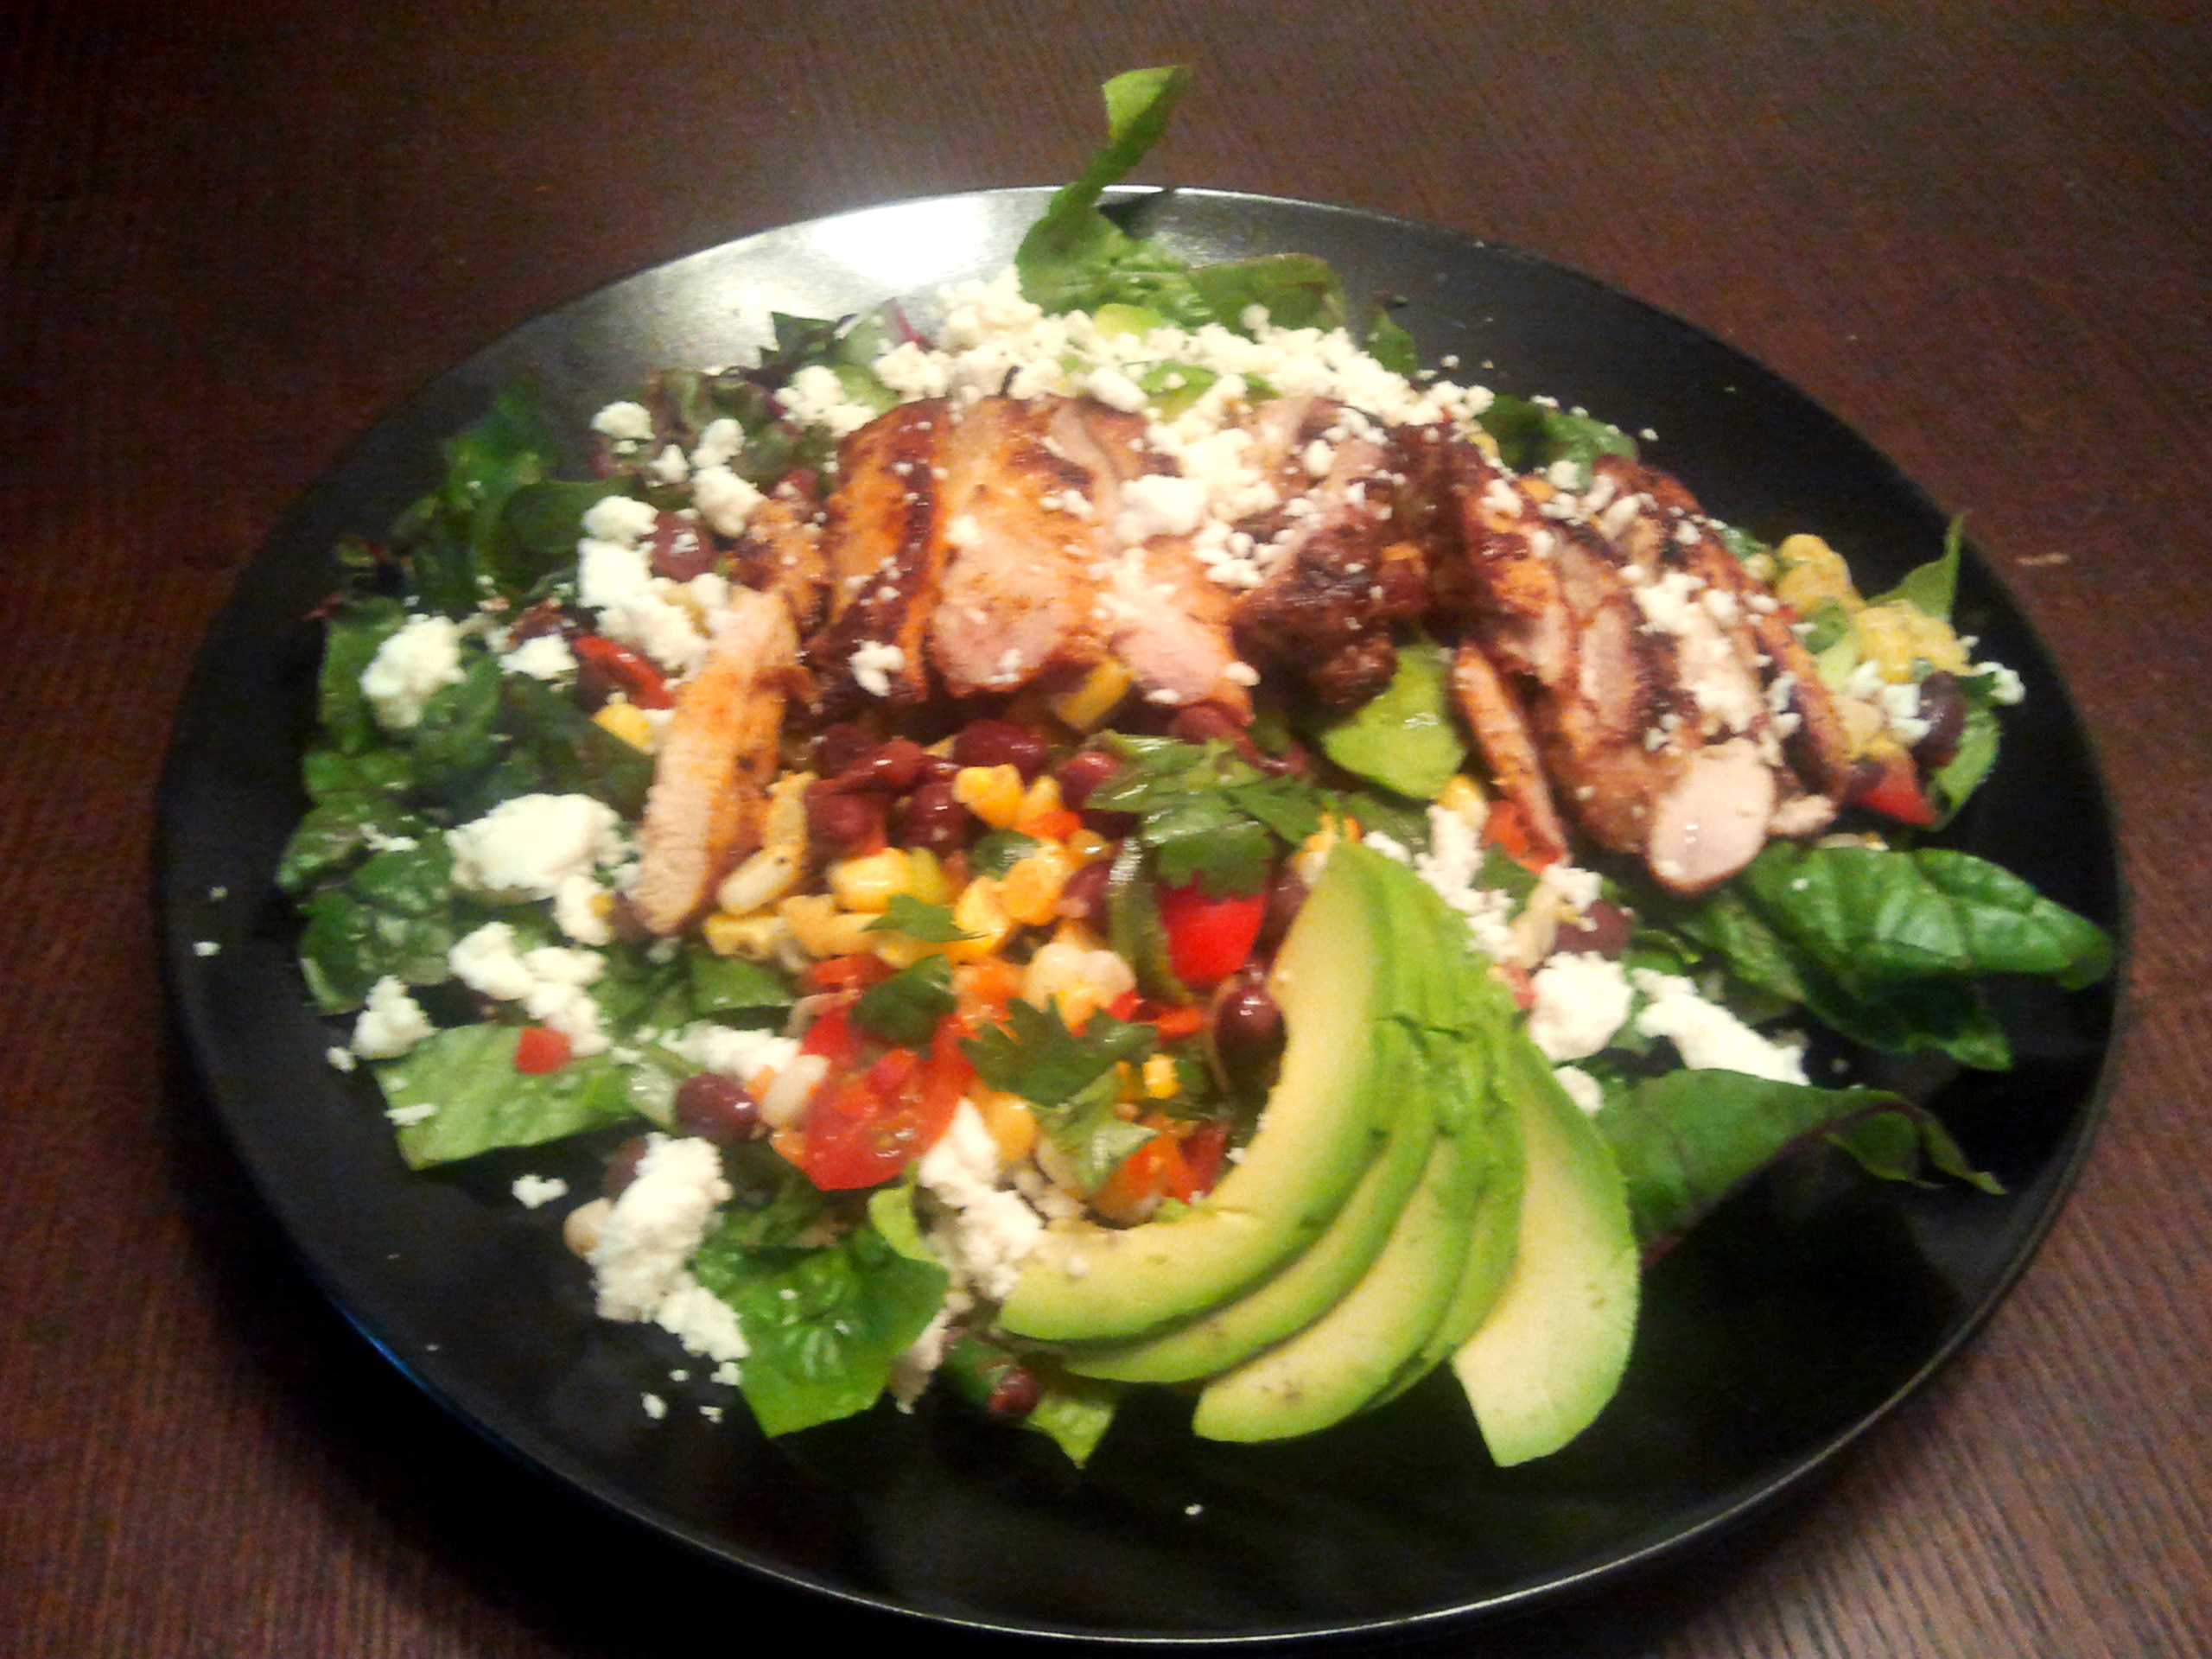
Since I don’t have that homemade tortilla hookup, I made this delicious chicken taco salad the other day, and it came out great. The main flavors here are the chipotle marinated chicken thighs and the really fresh black bean/corn salsa.
To make the marinade: mince 2 canned chipotle peppers and add to a bowl with 2 tablespoons of the adobo paste from the can, 2 tablespoons of oil (olive, peanut, or vegetable), 2 teaspoons of garlic paste, a few dashes of worcestershire sauce, the juice of one lime, and salt and pepper. Mix this up and pour over four boneless, skinless chicken thighs. If I can make a recommendation: buy whole chicken thighs and bone them yourself. You’ll pay about half as much per pound, and you can keep a collection of thigh bones in your freezer until you have enough to make chicken stock (foreshadowing some  soon to come posts? perhaps…). Back to the recipe. Let the chicken marinate for a few hours, then throw it on the grill.
To make the corn & black bean salsa, add the following to a mixing bowl: 1 can of black beans, drained and rinsed; 1.5 cups sweet corn (roasted is better if you can find it or want to make it); 5 green onions, sliced, 1 red bell pepper, Â finely chopped; 1 handful of cilantro, chopped; 1 jalapeno, seeded and minced; 1 cup of cherry tomatoes, quartered; the juice of one lime; 1/2 teaspoon of cumin; and 2 tablespoons of olive oil, plus salt and pepper to taste.
This salsa is spicy, smoky, sour, crunchy and so fresh. For salad greens, I went with swiss chard. For one, I bought some at the farmers market with no real plan for how to use it, so this was a pleasant surprise. Two, I think the assertive flavor and texture of chard, as compared to something like lettuce or spinach, better stands up to a meal with aggressive flavors like chipotle grilled chicken and lots of salsa. So rinse and cut your chard (removing most of the stem), add a nice heap of salsa, top with sliced chicken and half of a sliced avocado, and sprinkle with crumbled queso fresco.
Summer is a time for pesto.  Cheap fresh basil abounds.  But if you’ve made the stuff before, you know that pesto has an unfortunate habit of turning a slightly unpleasant dark color as it sits.  To brighten things up, add a tablespoon of fresh parsley for every cup of packed basil.  The flavor is largely unaffected and the aesthetic bump is well worth the 99 cents to pick-up a bundle of parsley.
In college, the cafeteria made a potato-leek soup. Â It was terrible. Â The flavors weren’t blended. Â The leeks under cooked. Â The broth very water. Â Ick. Â This recipe has none of those problems. Â It’s great to have before a dinner, keeps well in the fridge, and makes a great lunch.
Again, this recipe hails from The America’s Test Kitchen.
——————————————————–
Ingredients:
- 6 tablespoons (3/4 stick) unsalted butter
- 4 to 5 pounds of leeks, white and light green parts only (about 11 cups) and rinsed thoroughly
- 2 garlic cloves, minced
- 6 cups low-sodium chicken broth
- 1 3/4 pounds red potatoes (5 medium), scrubbed and cut into 1/2-inch pieces
- 1 teaspoon minced fresh thyme or 1/4 teaspoon dried
- 2 bay leaves
Directions:
Trim the leeks and discard the root and the dark green leaves. Â Slice the trimmed leeks in half length-wise, then cut into 1/2-inch pieces. Â Rinse the cut leeks thoroughly in a bowl to remove dirt and sand. Â Strain.
Melt the butter in a large Dutch oven over medium low heat. Â Stir in the leeks and garlic. Â Cover and cook until the leeks are tender, 15 to 20 minutes. Â Stir in the broth, potatoes, thyme, bay leaves, and 1 teaspoon salt. Â Bring to a simmer and cook until the potatoes are tender, about 15 minutes.
Smash some of the potatoes against the side of the pot to thicken the soup (this step really helps take the soup to the next level!) Discard the bay leave and season with salt and pepper to taste.


ABOUT
Good Food, Good Drink, Great Living
RECENT POSTS
| M | T | W | T | F | S | S |
|---|---|---|---|---|---|---|
| 1 | ||||||
| 2 | 3 | 4 | 5 | 6 | 7 | 8 |
| 9 | 10 | 11 | 12 | 13 | 14 | 15 |
| 16 | 17 | 18 | 19 | 20 | 21 | 22 |
| 23 | 24 | 25 | 26 | 27 | 28 | 29 |
| 30 | 31 | |||||
Tags
Archives
- November 2014 (1)
- October 2014 (2)
- September 2014 (1)
- April 2014 (1)
- March 2014 (1)
- February 2014 (1)
- January 2014 (1)
- December 2013 (4)
- November 2013 (2)
- October 2013 (1)
- September 2013 (1)
- August 2013 (4)
- July 2013 (4)
- June 2013 (6)
- April 2013 (5)
- March 2013 (5)
- February 2013 (1)
- January 2013 (3)
- December 2012 (2)
- November 2012 (13)
- October 2012 (4)
- September 2012 (6)
- August 2012 (3)
- July 2012 (4)
- June 2012 (6)
- May 2012 (10)
- April 2012 (13)
- March 2012 (5)
- February 2012 (5)
- January 2012 (2)
- December 2011 (16)
- November 2011 (8)
- October 2011 (10)
- September 2011 (10)
- August 2011 (12)
- April 2011 (2)
- March 2011 (8)
- February 2011 (7)
- January 2011 (7)
- October 2010 (5)
- September 2010 (8)
- August 2010 (12)
- July 2010 (5)