Archive for March, 2013
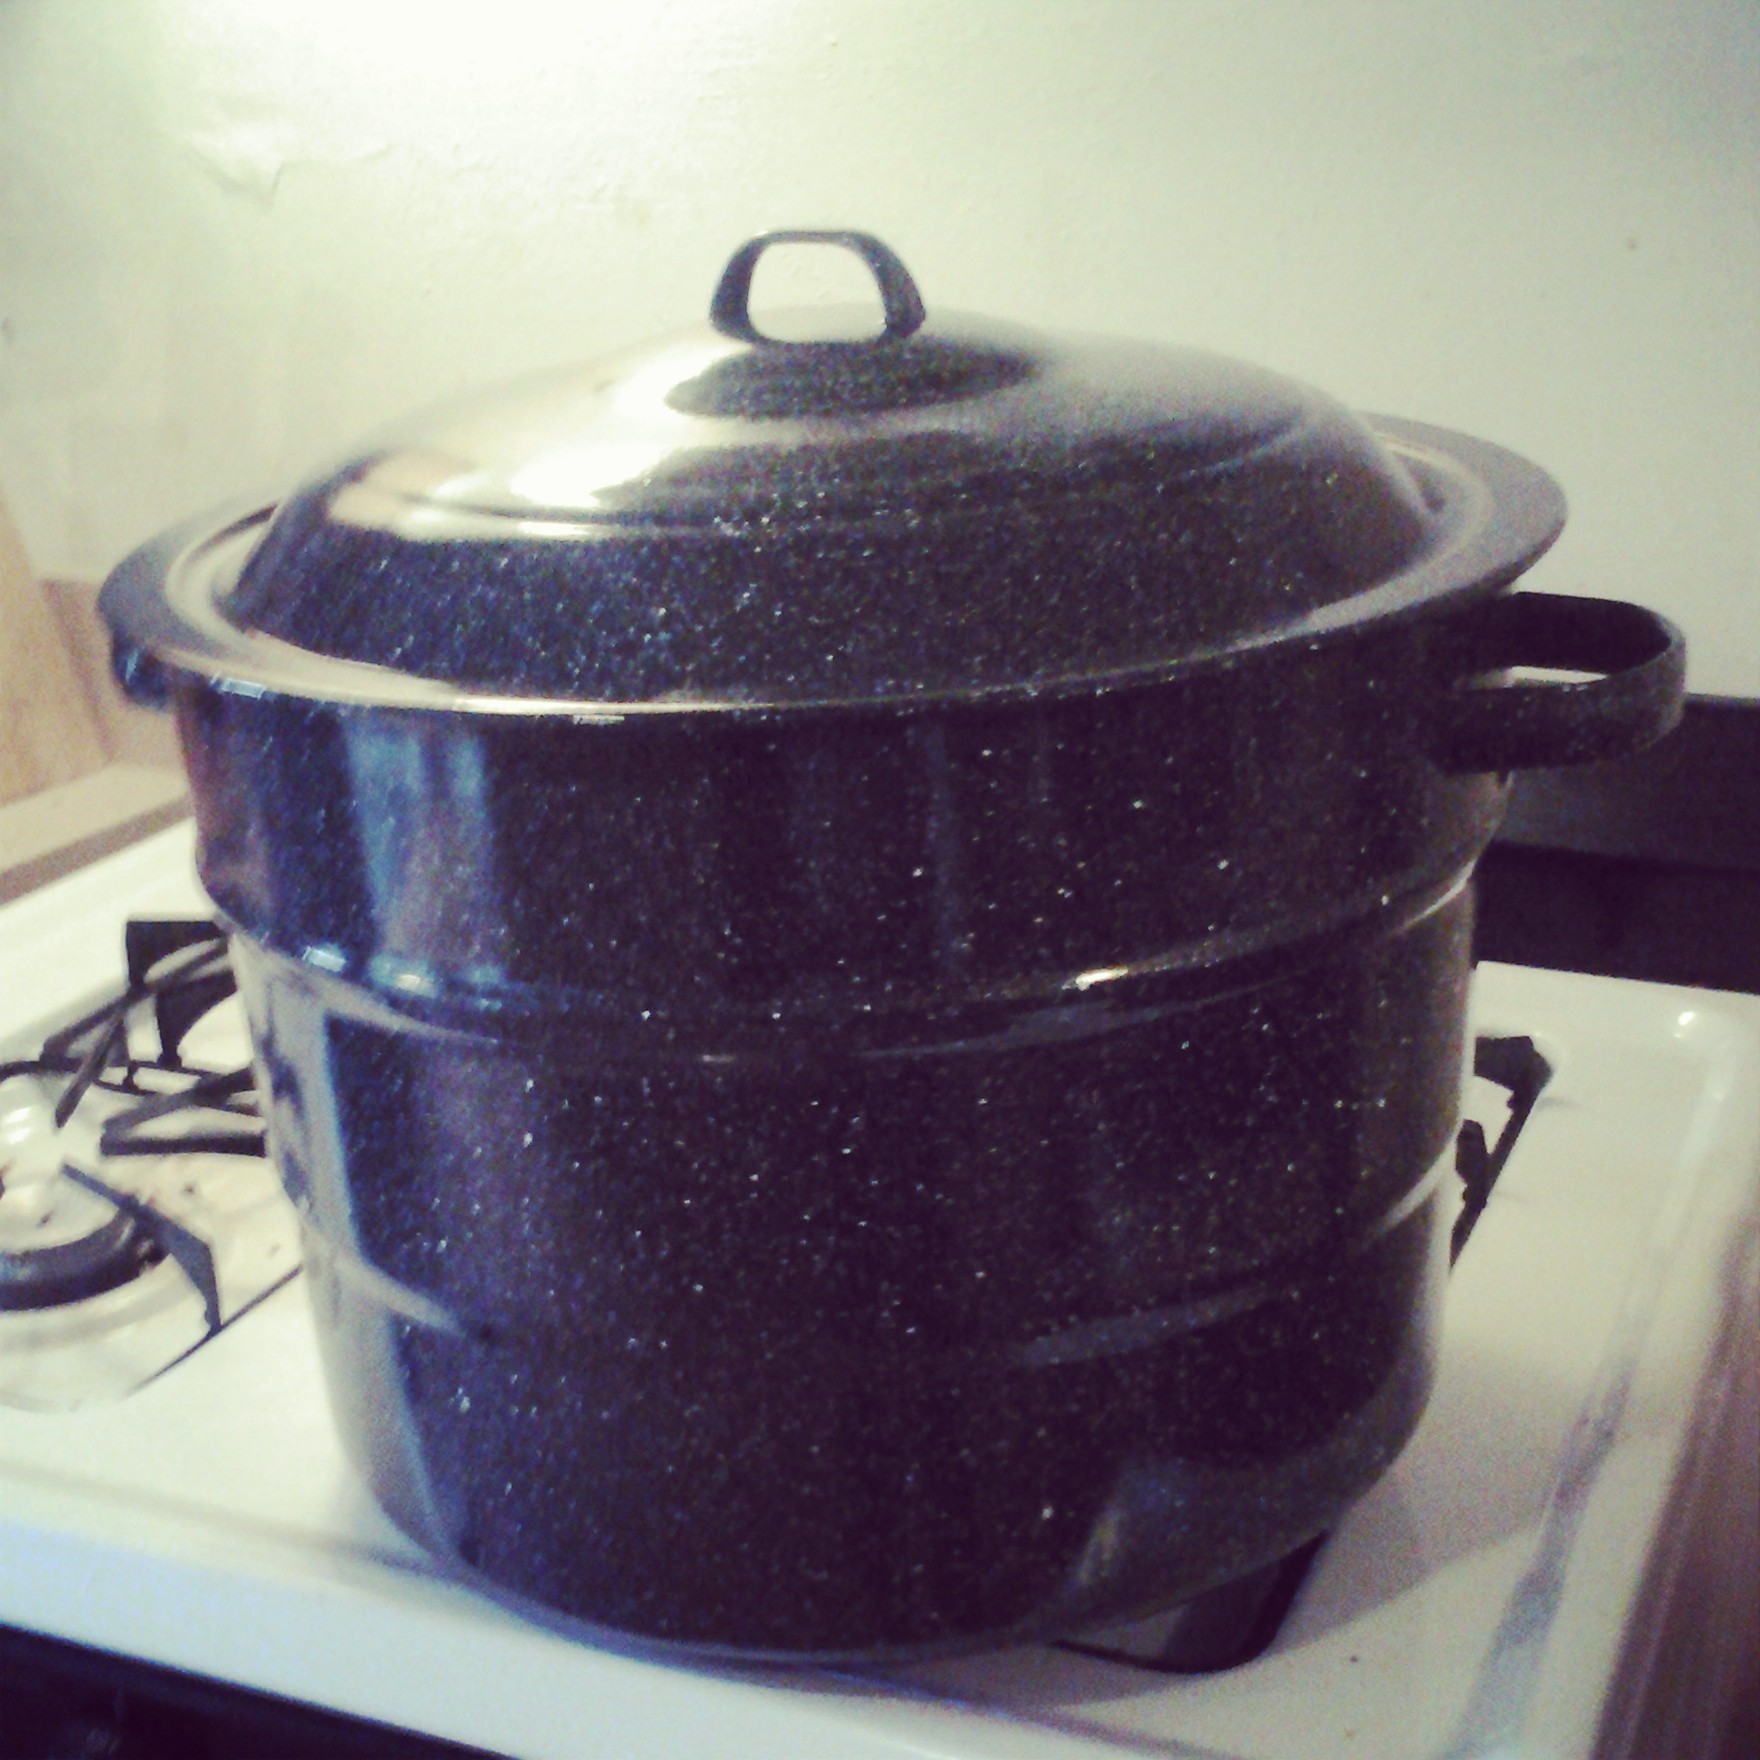
 One of my goals for the summer is to start canning. Â I’ve joined a CSA and expect to have a lot of produce around. Â Plus, the farmer’s market will be calling to me every Saturday morning. Â I hope save the summer’s bounty for the dark days of winter. Â But I’ve never canned a thing before. Â At least not until today.
I saw the recipe for this mango chutney in the New York Times and decided it was time to give this canning thing a trail run.  Since it was my first go at the canning process, it took me a little longer than the 2 hours the recipe described.  I decided to use the Tommy Atkins mangos and golden raisins. The one substitution I was forced to make was use of Kaffir lime leaf from a jar rather than fresh or dried.  I just could easily get my hands on the later.  This may have added a little more bitterness, but the result is solid.  It seems to have worked!
The uncanned chutney is a powerful mixture of acid, sweetness, spices, and heat. Â If the canned flavor is consistent with the uncanned it may be too strong to use as a jam, but would be great paired with food. Â I’m thinking grilled pork chops will be perfect.
As the jars cooled and pinged closed I couldn’t help a satisfied smile. Â I’m excited to have my first go at canning under my belt and I’m looking forward to some more exploration over the summer.
————————————————————————————
.
Ingredients.
-     5 pounds mangoes, about 9 Champagne or 6 Tommy Atkins
- Â Â Â Â 1 cup, or 7 ounces, golden raisins (or dried cranberries, cherries or apricots)
- Â Â Â Â 1 cup apple cider vinegar
- Â Â Â Â 1 cup, or 7 ounces, brown sugar
- Â Â Â Â 1/2 cup finely minced onion
- Â Â Â Â 1/4 cup peeled, finely minced fresh ginger
- Â Â Â Â 1 teaspoon yellow mustard seed
- Â Â Â Â 1 teaspoon coriander seed
- Â Â Â Â 6 cardamom pods, seeds extracted
- Â Â Â Â 6 Kaffir lime leaves
- Â Â Â Â 1 4-inch Chinese long red hot chile, or to taste
- Â Â Â Â 1 4-inch serrano chile, or to taste
.
Directions
 1.  Peel and dice the mangoes to yield 5 cups, or 2 pounds 4 ounces.
2. Â Put a rack or a folded kitchen towel in a large pot, fill with water and bring to a boil. Add 6 half-pint canning jars and boil for 10 minutes. Jars may be left in the warm water until ready to be filled. (Alternatively, sterilize jars by running them through a dishwasher cycle, leaving them inside until ready to fill.)
3. Â Place canning rings in a small saucepan, cover with water and bring to a boil. Turn off heat and add lids to soften rubber gaskets. Rings and lids may be left in water until jars are filled.
4.  In a large, heavy, nonreactive pot, stir together mangoes, raisins, vinegar, brown sugar, onion and ginger together. Crush the mustard, coriander and cardamom seeds with the side of your knife or a rolling pin. Add to the pot and stir well. Add the lime leaves.
5. Â Wearing gloves, slice the chiles into rings. Remove seeds if you wish. Decide how much chile suits your taste. (If you are heat averse, start with half the recommended amount and taste. The chiles may be omitted altogether for a sweeter chutney.)
6. Â Bring heat up to medium and stir occasionally as mixture comes to a boil. Bring to a good hard boil, stirring all the time. Cook for 25 minutes, being careful to avoid sticking and burning as the mixture thickens. Adjust heat as needed without losing the boil and continue to stir.
7. Â After 25 minutes, the mixture should be thick, with the fruit suspended in the tangy syrup, and a spoon pulled along the bottom of the pot leaving a trail. Turn off heat and discard the lime leaves.
8. Â Ladle the hot chutney into warm jars, leaving 1/2-inch headspace. Run a plastic knife gently around inside of jar to remove any air bubbles. Recheck headspace. Wipe jar rims clean with a damp towel. Place lids on jars, screw on rings and lower jars back into pot of boiling water. Return to full boil and boil jars for 15 minutes. Transfer jars to a folded towel and let cool for 12 hours; you should hear them ping as they seal.
9. Â Once cool, test seals by removing rings and lifting jars by their flat lids. If the lid releases, the seal has not formed. Unsealed jars should be refrigerated and used within a month, or reprocessed. (Rings and jars may be reused, but a new flat lid must be used each time jars are processed.) To reprocess, reheat syrup to boiling then continue as before.
I’m going to start with a warning: this recipe takes more time and effort than it looks. Â That shouldn’t scare you off. Its not hard. But its also not the easy weekday dinner I thought it would be when I open the pages of my cook book one evening on a Tuesday night. Â The recipe involves pounding cardamom pods to get at the seeds and has a minimum four hour date with a marinade. (The recipe warns the marination time is critical and I’m inclined to believe it.) Â It was good reminder to read through a new recipe in detail before making plans!
I pulled this recipe from Good Meat.  Loren’s posts put this cookbook put it on my Christmas list and Santa seemed to think I was nice enough last year to grant my wish.  Paging through the cookbook is to anyone who loves meat as pornography is to a 15 year old boy.  The book is packed full of awesome information about meats and the processes for cooking them.  And the photos are amazing. I was excited to finally break into a cook of my first recipe from this tome.
Unfortunately, the results were less than stellar.  I would classify the chicken as edible.  Much of the error may be on my end.  Instead of bone-in skin-on thighs I accidentally grabed the boneless skinless variety.  The cardamon flavor was just overwhelming.  The fat of skin-on thighs would help cut this down.  Cardamon is also not flavor I’m very accustomed too.  Though, when I ate the leftovers the second day, the cardamon flavors had mellowed to an enjoyable level.
On the next go I may try reducing the amount of marinated or marinating for only four hours rather than overnight. Â There is something good here and I’ll definitely be giving this recipe another go.
——————————————————————————–
Ingredients:
- 1/4 cup whole green cardamon pods or 1 to 2 tablespoons whole black cardamom seeds out of the pod.
- 2 cloves of garlic, diced
- 1 tablespoon of kosher salt
- 1/4 cup fresh or dry oregano
- 1/4 cup plus 2 tablespoons olive oil
- 4 to 6 large skin-on bone-in chicken thighs
- Freshly ground pepper
Directions:
Select a shallow pan that will hold the thighs closely in one layer, such as a quarter sheet pan, cast-iron lasagna pan or frying pan, or gratin dish.
Using a mortar and pestle, or a heavy resealable plastic bag on the back of a cast-iron frying pan, pound the cardamom pod until they split. Discard the husks, and bruise the tiny black seed by pounding them a little to release their oils. Â Add the garlic, salt, and oregano and bash away to release their oils. Â Transfer the mixture to a bowl, then stir in the olive oil to a thin the paste.
Arrange the thighs, flesh side up, in the pan and massage half the paste onto the flesh; turn them over and do the same on the skin side with the remaining paste. Â Allow the meat to marinate, covered and refrigerated, for at least 4 hours or overnight before bring back to room temperature. Â Grind black pepper over the thighs.
Heat the oven to 450 degree, and set a rack along the top of the oven, just under the heating element (although you are not broiling, this exposes the skin to more heat for crispness). Â When the oven is good and hot, roast the chicken for 45 minutes, turning the meat over half way through cooking.
When done, the skin should be beautifully crisp and the flesh completely cooked through. Â Serve warm or at room temperature with rice.
Many of the recipes in my new favorite Mexican cookbook, Truly Mexican, call for chile powder.  Yes, you can buy the stuff in the store and the cookbook’s author gives you the go ahead to use the store bought stuff when the homemade isn’t on hand. But making the chile powder from scratch is so easy, cheap, and quick I’m willing to make the investment.  Plus, I love spice.  Having a another option to spice-up any meal in front of me is a good thing and the powder stores up to three months.  I’ve only made the recipe using árbol chiles, but I’m very curious to try the other options.
I don’t have a spice grinder, but the blender method worked out great.
The recipe yields 1/4 cup.
———————————————————–
Ingredients:
1 ounce dried árbol (30 to 40), cascabel (about 5), or chipotle mora (8 to 10, purplish-red color) chiles, wiped clean and stemmed.
Directions:
Heat or comal, griddle, or heavy skillet over low heat for árbol chiles and medium-low for cascabel and chipotle chiles.
For the árbol chiles, toast them, turning them over and pressing them down frequently with tongs until they are browned with some blackened spots, about 8 minutes.
For the cascabel chiles, break each into about 3 pieces for easier toasting, then shake out and reserve the seeds. Â Toast the pieces turning them over and pressing down frequently with tong, until they turn a lighter, slightly mottled red, about 1 minute. Â Remove the pieces. Â Toast the seed in the skillet, shaking and tossing, until they’er lightly browned and fragrant, 20 to 30 seconds.
For the chipotle mora chiles, toast them, turning them over frequently, until dark, blackish blisters appear in spots (some will even puff up), 3 to 5 minutes.
Grind or blend the chiles (and the toasted seed, if you’re using cascabel chiles) to a powder in a spice grinder or blender jar.
Store in an airtight container in a cool dark place (not in the refrigerator) for up to 3 months.
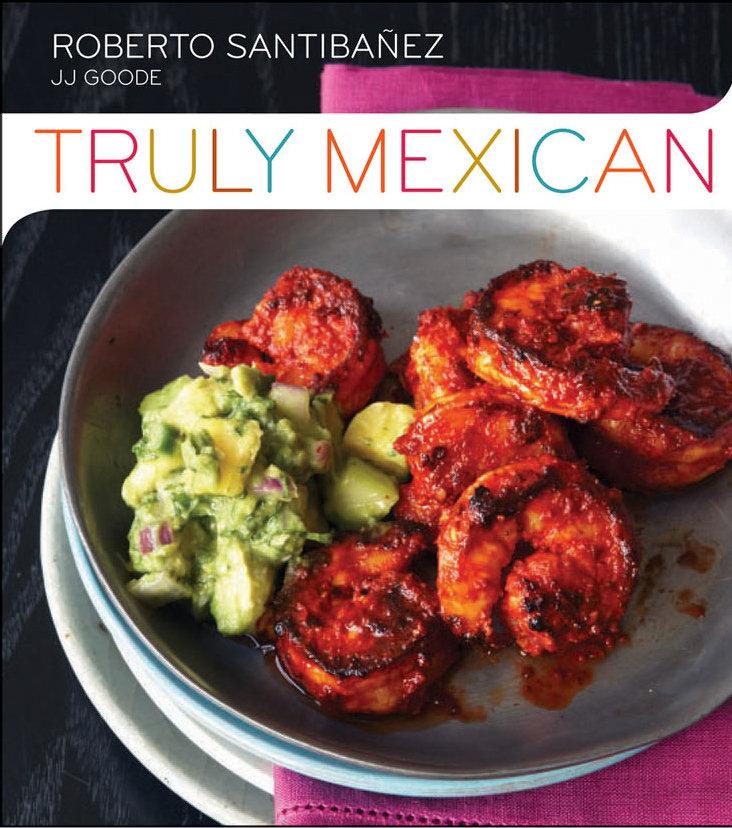 I’m not sure I’d ever made real Mexican food.  Don’t get me wrong.  Box tacos are a guilty pleasure.  But calling box tacos Mexican cooking would be like calling a jar of Ragu and boxed spaghetti Italian cooking.  The closest I’ve probably come is fish tacos with a side of fresh guacamole.  Maybe some of my enchiladas have gotten on the path.  But, with the purchase of a new cook book, it was time to give it a real try.
The new cook book (Truly Mexican) offers up recipes ranging from the simple to the devilishly complex.  I decided to ease in with a basic Adobo sauce (recipe below).  And the basic sauce was even easier than I expected.  Maybe a few extra minutes (at max, 15 minutes of real cooking time) compared to the crappy slightly seasoned tomato sauces I’ve played with in the past.
On my first go, I decided for pork (recipe below).  After making the sauce and cutting the pork, a bit of hands-off cooking yielded delicious fall apart pork.  With a little cilantro, Mexican cheese, and a small bit of sour cream I had some rock’n tacos.  For a full meal, I added some beans and rice.  So freak’n good!
This last weekend I made the same meal with chicken and a few eggs on the side for an at home brunch. Â The chicken recipe tracks the pork with a reduced cook time (for sliced chicken it was about 20 minutes of stove top in sauce cook time).
The cook book tells me the sauce can keep in the fridge for a week and on both cookings it seemed better the next day. Â (I’m eating Sunday brunch leftovers for lunch as I type.) Â I think I might next need to make the sauce a couple days in advance. Â Then I’ll be just 30 minutes away from my next taco night!

Basic Ancho Adobo
Ingredients:
- 2 1/2 onces ancho chiles (5 individual chiles), wiped clean, stemmed, slit open, seeded and deveined
- 1/2 cup water for blending, more if necessary
- 1/4 cup Seville orange juice or distilled white vinegar
- 2 garlic cloves, peeled
- 1/4 teaspoon fine sale or 1 teaspoon if kosher salt
- 1/4 teaspoon sugar
- 1/4 teaspoon dried oregano, preferably
Directions:
Heat a heavy skillet over medium-low heat, and toast the chiles 2 at a time, turning them over frequently until they’re fragrant and they’ve developed light brown blisters, about 1 1/2 minutes per batch. Soak the chiles in enough cold water to cover until they’re soft, about 30 minutes. Drain and discard the soaking water.
Put the 1/2 cup of fresh water in the blender jar with the chiles and the remaining ingredients. Â Blend until smooth, at least 3 minutes, adding a little more water in necessary to puree. Â For a silkier, smooth texture, strain the adobo through a medium-mesh sieve.
Pork in Adobo (Cerdo en Adobo)
Ingredients:
- 2 pounds pork shoulder or other pork stewing meat, cut into 1 1/2-inch cubes.
- 1/4 teaspoon fine salt, or 1 teaspoon kosher salt
- 2 tablespoons
- 1 1/2 cup of Adobo
- 2 cups of water or chicken stock
Directions:
Pat the pork dry and season it with the salt. Â Heat the oil in a 4 to 5 quart heavy pot or skillet over medium-high. Â Brown the pork (us e multiple batches is needed–avoid having the pork pieces sitting on top of each other), turning occasionally, 8 to 10 minutes per batch.
Reduce the heat and return all the pork to the pot. Â Carefully pour the adobo over the pork. Â If the adobo is in the blender, swish a little liquid around in the jar and add it to the pot. Â Simmer, stirring to coat the pork and fry the sauce, until the sauce is slightly thicker, about 5 minutes. Â Add the 2 cups of water.
Cook the pork, covered, in an oven in an ovenproof pot in a 350 degree oven for 1 1/2 to 2 hours. Â Season to taste, vinegar, and additional salt. Â (The recipe also instructs that you can reduce the heat to low, cover the pot, gently simmer the pork, adding a couple table spoons of water from time to time to maintain a silky texture until the pork is tender, 1 1/2 2 hours)
No.  I’m not dead.  Just warped-up in work and studies.  I’m in progress on a post on some great Mexican cooking I’ve been able to squeeze in.  Those meals have all included this been recipe from Truly Mexican a cook book I wrote-up a while back.
This black bean recipe is great pair for a taco night or just eating over rice. Â The mashing and added liquid means the beans are sitting in a tasty bean sauce. Â In fact, I’ve had this little dish over rice for dinner countless times in the last few months. Â (Aside: I love my rice cooker.) Â Reheated, the beans and rice make a great lunch. Â The recipe is easy to double or triple and it’s great to have some in the fridge for a near instant meal or side.
Ingredients:
- 1 (15-oz.) can black beans, including liquid
- 1/4 cup water
- 1 tablespoon olive oil
- 1/4 teaspoon garlic powder
- 1/4 teaspoon onion powder
- 1/4 teaspoon Chipotel Chile Powder (or sub in a couple drops of very hot hot sauce)
- 1/4 teaspoon dried oregano, preferably Mexican
Directions:
Put all the ingredients in a small saucepan and bring the mixture to a simmer over medium heat. Â Simmer the beans vigorously, mashing them slightly with potato masher or fork. Â Season to taste with slat.
BOOM! Â In under 10 minutes you’ve got yourself some awesome beans!

ABOUT
Good Food, Good Drink, Great Living
RECENT POSTS
Tags
Archives
- November 2014 (1)
- October 2014 (2)
- September 2014 (1)
- April 2014 (1)
- March 2014 (1)
- February 2014 (1)
- January 2014 (1)
- December 2013 (4)
- November 2013 (2)
- October 2013 (1)
- September 2013 (1)
- August 2013 (4)
- July 2013 (4)
- June 2013 (6)
- April 2013 (5)
- March 2013 (5)
- February 2013 (1)
- January 2013 (3)
- December 2012 (2)
- November 2012 (13)
- October 2012 (4)
- September 2012 (6)
- August 2012 (3)
- July 2012 (4)
- June 2012 (6)
- May 2012 (10)
- April 2012 (13)
- March 2012 (5)
- February 2012 (5)
- January 2012 (2)
- December 2011 (16)
- November 2011 (8)
- October 2011 (10)
- September 2011 (10)
- August 2011 (12)
- April 2011 (2)
- March 2011 (8)
- February 2011 (7)
- January 2011 (7)
- October 2010 (5)
- September 2010 (8)
- August 2010 (12)
- July 2010 (5)